
Installing a pocket door can be a great way to save space in your home while adding a touch of elegance and functionality. Pocket doors are single slab doors that slide along an upper header track and, when open, are concealed within an adjacent wall. These doors are especially useful in tight spaces or rooms where a traditional swinging door may be impractical. This guide will give you a complete breakdown if you’re looking to install a pocket door in your home or office.
(Need commercial or roll-off service? We’re at your disposal!)
Before beginning the installation process, it is essential to have a clear understanding of the steps involved. Here’s the whole project in a nutshell:
- Start by removing the existing door and the drywall on one side of the wall.
- Cut the exposed studs to create space for the new framing.
- Install the slider track using the rails provided in your pocket door kit, ensuring that the brackets are securely fastened to the studs.
- Mount the hardware and door onto the slider track, adjusting as necessary for smooth operation.
Pocket doors offer an attractive and space-saving solution for your home. With careful planning and attention to detail, you can successfully install one of these doors to enhance the functionality and aesthetics of your living space.
Evaluating the Installation Site
Before starting the pocket door installation process, it’s crucial to evaluate the installation site. This involves assessing the wall structure, identifying potential obstructions, and measuring the doorway and available space.
Assessing Wall Structure
First, determine whether the wall you’d like to install the pocket door in is load-bearing or non-load-bearing. A load-bearing wall is essential for supporting the overall weight of the home, while a non-load-bearing wall simply separates spaces. It’s possible to install a pocket door in a load-bearing wall, but it may require additional support, like a header and extra framing. Consult a structural engineer if you’re unsure about the wall’s load-bearing status.
Identifying Obstructions
Next, evaluate the existing wall for any potential obstructions such as:
- Wiring: Electrical wires often run through walls and may need to be relocated during pocket door installation.
- Plumbing: Pipes for water and gas can also pose problems if they run through the intended pocket door site.
- Ductwork: HVAC ducts, if present within the wall, may need to be reconfigured or rerouted to accommodate the pocket door.
These obstructions can complicate the installation process and potentially increase costs. An inspection of the wall may be necessary to identify the location and extent of these potential issues before the project commences.
Measuring Doorway and Space
Make sure the doorway and the surrounding space are suitable for a pocket door installation. Carefully measure the dimensions of the doorway and compare them to the pocket door kit requirements. Ensure there is enough horizontal wall space to accommodate the door when it’s fully open.
Additionally, consider the available space in small rooms. Pocket doors can be an excellent space-saving solution for tight areas, but it’s still important to assess whether there is sufficient room for the door to slide in and out without any obstructions or interference.
By confidently taking these factors into account, you’ll be able to determine whether your desired location is suitable for a pocket door installation and proceed with installing the door safely and effectively.
Gathering Materials and Tools
Before starting your pocket door installation journey gather all the necessary materials and tools to ensure a smooth operation. This section is divided into two parts: choosing a pocket door kit and selecting additional tools and materials.
Choosing a Pocket Door Kit
A pocket door kit is a convenient solution that includes most of the items required for the installation. The kit typically contains:
- The door itself
- Split studs that allow the door to retract into the wall
- A track on which the door runs into the wall
- Door Hardware
When purchasing a pocket door kit, consider the size, style, and material of the door to ensure it suits your home’s interior and the space where it will be installed.
Selecting Additional Tools and Materials
In addition to the pocket door kit, you’ll need various tools and materials for a smooth and successful installation process. Here’s a list of essential tools and materials:
Tools:
- Saw: A hacksaw, circular saw, or reciprocating saw suitable for cutting through drywall and framing.
- Hammer: For securing nails and lumber during the installation process.
- Drill and screwdriver: For inserting screws and fasteners to secure the pocket door components.
- Utility knife: For cutting drywall, trimming materials, and making precise adjustments.
- Level, square, and plumb: These tools help ensure accurate measurements and a straight installation.
Materials:
- Lumber: For constructing the header and framing.
- Drywall: To cover the area where the door will slide into the wall.
- Nails and screws: For securing the various components during installation.
- Fasteners: To hold parts securely in place.
- Trim: To finish the edges of the doorway and create a polished appearance.
By gathering the right tools and materials and selecting an appropriate pocket door kit, you’ll be well-prepared to embark on the installation process, ensuring a smooth and professional outcome.
Preparing the Space
Before installing a pocket door you’ll need to prepare the space properly. This includes removing the existing door and frame, as well as clearing and prepping the area.
Removing Existing Door and Frame
Start by carefully removing the existing door and its hardware. Unscrew the hinges, and gently lift the door off its frame. Detach any doorstop, and use a flat pry bar to remove the trim without damaging the wall. If the door frame is secured with nails, carefully pry them out as well. Keep track of the nails and other hardware for proper disposal.
Next, remove the door frame from the wall. If it is secured with nails or screws, carefully remove those. You can also cut the frame into smaller sections for easier removal using a saw. Inspect the header and split jambs for potential reuse or replacement.
Clearing and Prepping the Area
Now that the existing door and frame have been removed, inspect the doorway and surrounding area for any required modifications. Double-check the location of the pocket door, to ensure there is adequate space for the door to slide into the adjacent wall.
You should have already taken into account any electrical wires or plumbing fixtures that may need repositioning. If you’re not confident handling such tasks, consult a professional.
Examine the floor space and surrounding walls for debris and uneven surfaces. Repair any damages to create a smooth surface for the pocket door installation. If there’s any old paint or adhesives, scrape them off and clean the area thoroughly.
In specific locations, such as a bathroom or kitchen, additional considerations might be required, like waterproofing or moisture barriers. Ensure the chosen pocket door and hardware are appropriate for the intended use.
With the existing door, frame, and trim removed, and the area prepped, you are now ready to install your new pocket door. Always follow the manufacturer’s instructions to ensure a safe and seamless installation.
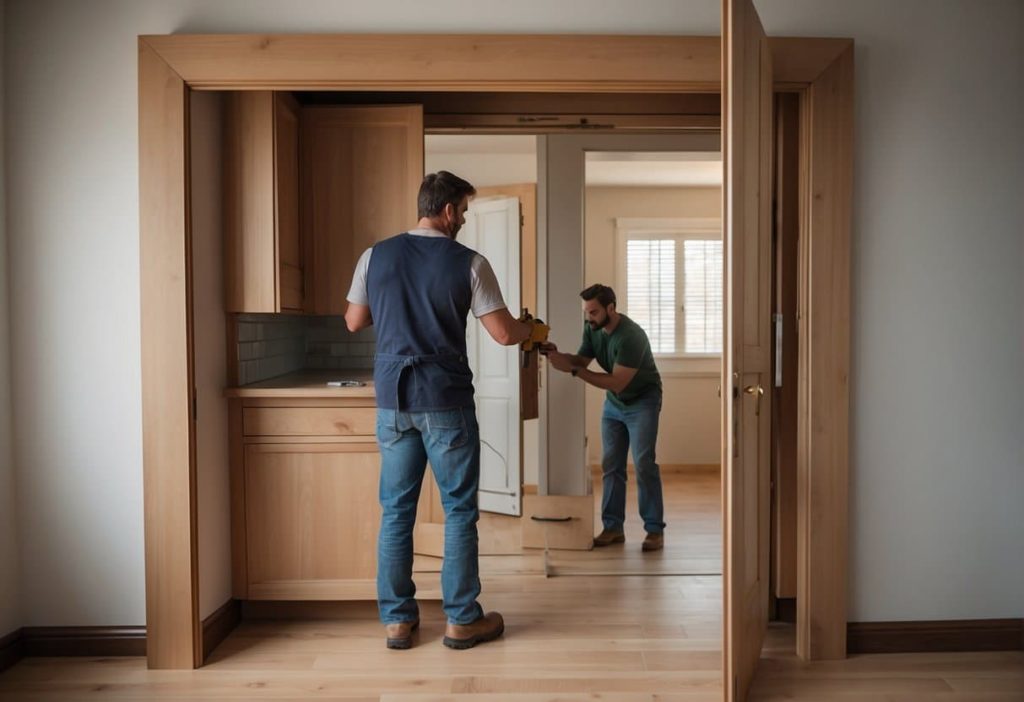
Constructing the Pocket Door Frame
Building the Rough Opening
Start by measuring the dimensions of your pocket door, including its height and width. Next, determine the rough opening size by adding 2 inches to the door width and 4.5 inches to the door height, which will ensure adequate space for shimming and installation. This will determine the necessary dimensions for the header, which will support the pocket door frame.
Cut the lumber for the header according to the calculated dimensions. Make sure the header is level and that the corners are square. Verify this by measuring diagonally from corner to corner. If the measurements match, the header is square.
After the header is prepared, attach it using appropriate fasteners, such as nails or screws, to the top of the rough opening. Additionally, install the soleplate at the bottom of the opening, ensuring it is plumb and secure.
Installing the Split Studs
Once the rough opening is framed, proceed with installing the split studs, which allow the pocket door to slide into the wall cavity. Begin by positioning the split studs within the rough opening according to the pocket door kit’s instructions.
Using a level, ensure that the split studs are plumb within the rough opening. If necessary, utilize wood shims to adjust the studs until they are properly aligned. It is essential to check both sides of the split studs, as they determine the door’s straight and smooth operation.
Secure the split studs to the header and soleplate with appropriate fasteners, such as nails or screws, ensuring they are firmly attached. With the split studs installed and all components level, plumb, and square, the pocket door frame is complete and ready for the next steps in the installation process.
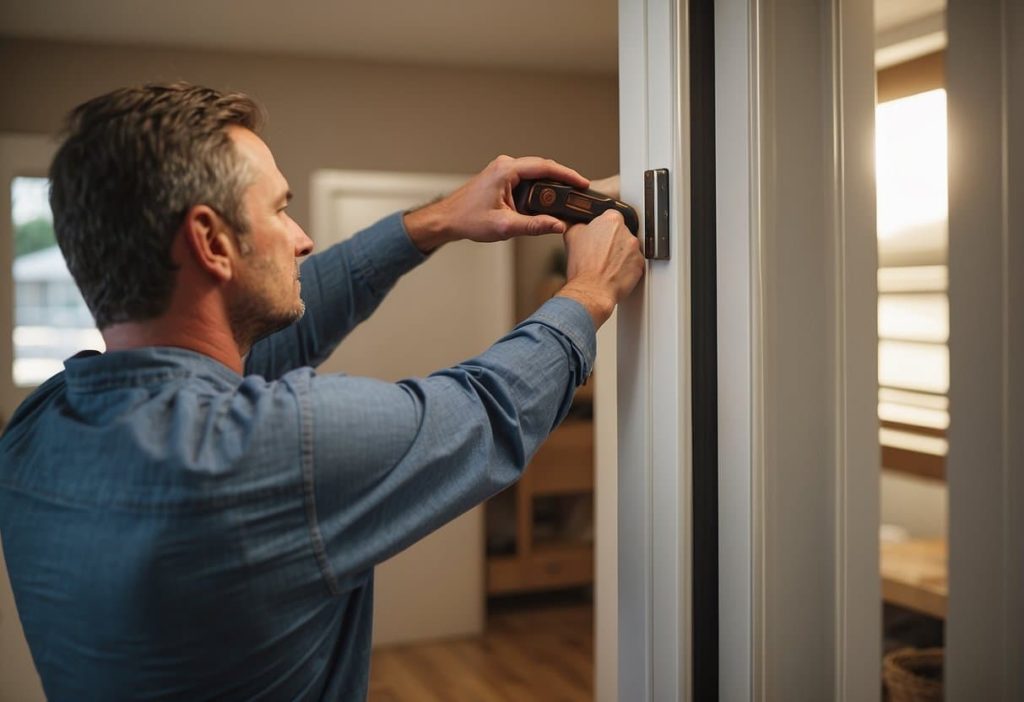
Installing the Pocket Door Kit
Attaching the Track and Hardware
Before you start installing the pocket door kit, read the instructions provided by the manufacturer, as each kit might have slight variations. Begin by measuring and cutting the header to the correct size, as specified in your pocket door kit’s assembly instructions. Then, attach the rail or slider track to the header, making sure it is level.
Next, install the split studs, which are crucial for creating the pocket where the door will slide into. Ensure the studs are properly spaced and plumb according to the manufacturer’s guidelines. Once the split studs are in place, attach the door hardware, such as rollers, brackets, and door guides, to the door slab. Remember to make any necessary adjustments for the door size and use shims, if needed, to maintain proper alignment.
Mounting the Door
With the track and hardware in place, it’s time to mount the door. Carefully lift the door slab and align the rollers with the rail. Slide the door onto the rail, ensuring it runs smoothly and stays in place. Secure the door by attaching the door stops, which prevent the door from coming out of the pocket or sliding too far into it.
Finally, install the door guide at the bottom of the door opening. The door guide helps keep the door properly aligned while in motion, providing a smoother and more stable operation. Once all the components are correctly installed, test the door’s movement to ensure it opens and closes smoothly.
Following these steps and paying close attention to the manufacturer’s instructions will result in a reliable and well-functioning pocket door.
Finishing the Installation
Installing Drywall and Trim
After successfully installing the pocket door, it’s time to begin the process of finishing the installation. This involves installing the drywall around the frame and applying the necessary drywall tape to secure it in place.
First, measure and cut the drywall to fit the new opening, accounting for the door being 80 inches tall and the new header placement at around 84.5 inches. Then, use drywall screws to secure the drywall panels and apply drywall tape and joint compound to seal the joints. Wait for the joint compound to dry before sanding and repeating as necessary until a smooth surface is achieved. Finally, paint the drywall with the desired color.
In addition to the drywall, install any necessary trim and door trim around the opening. This might include baseboards, crown molding, or door casing. Use a finish nailer or hammer and nails to securely attach trim pieces in place, being careful to cover any gaps between the drywall and the frame.
Applying Final Touches
With drywall and trim in place, focus on the final touches required to complete the pocket door installation. This includes installing door hardware such as handles, hinges, locks, and guides. Most pocket door kits should come with fasteners, bumpers, door guides, and handles needed for installation. Follow the kit’s instructions to position and secure them to the door.
| Hardware | Purpose |
| Handles | Provides grip for opening and closing the door. |
| Hinges | Connects the door to the frame, enabling smooth motion. |
| Lock | Offers privacy and security. |
| Door guides | Ensures straight and controlled movement of the door in the pocket. |
| Bumpers | Softens the impact of the door against the frame while closing. |
After installing all hardware, perform a final check to ensure the smooth operation of the pocket door. Open and close the door several times, making sure the door glides smoothly in the pocket and the lock functions properly. If necessary, adjust the door tracks or hinges to maintain proper alignment and functionality.
Remember, a successful pocket door installation is complete when the door functions smoothly, the hardware is properly installed, the drywall and trim work are clean and presentable, and all parts are securely fastened.
Additional Considerations

Ensuring Privacy and Soundproofing
When installing a pocket door, it’s essential to consider privacy and soundproofing, especially if the door is being added to a bedroom or bathroom. One effective method to enhance soundproofing is to use insulated drywall or add acoustic insulation within the wall cavity. For privacy, consider installing a quality door latch and maintaining proper clearances between the door and frame to prevent gaps through which sound can travel. Additionally, selecting a solid-core door will provide a higher level of privacy and sound insulation compared to hollow-core doors.
Complying with Building Code
Before embarking on a pocket door installation project, whether as a DIY project or with the help of a contractor, it’s crucial to ensure compliance with your local building code. Engage the services of professionals such as architects, structural engineers, and electricians to avoid potential complications. The pocket door should not compromise the structural integrity of the wall, and all electrical wiring and plumbing within the wall must be relocated or properly protected.
In new construction projects, contractors and builders should collaborate closely to ensure the pocket door installation complies with the building code and maintains the structural integrity of the supporting wall. When working with existing walls, carefully inspect them for wiring, plumbing, or structural components (such as studs) that might need modifications. In case of any doubts, engage the services of a qualified electrician or structural engineer for guidance.
By considering these additional aspects of privacy, soundproofing, and building code compliance, you can ensure that your pocket door installation will provide both functionality and satisfaction for years to come.
Frequently Asked Questions

What are the necessary steps for installing a double pocket door?
- Measure the space for proper framing.
- Create the double pocket door opening.
- Assemble and install the double pocket door frame.
- Install the pocket door track and hardware.
- Hang the doors and adjust for alignment.
- Install door guides at the bottom.
- Attach trimming and finish with drywall and paint.
Can a pocket door be installed without removing existing drywall?
It is possible to install a pocket door without removing existing drywall, but it requires more precision and skill. You would need to cut a precise opening in the drywall to match the size of the pocket door frame. This method also carries a risk of damaging hidden wires, pipes, and studs.
What are the common considerations when choosing a pocket door kit?
- Door size and weight capacity: Ensure your chosen kit supports the dimensions and weight of your door.
- Quality and durability: Look for kits with sturdy materials and reliable hardware.
- Ease of installation: Some kits offer easier installation processes or better instructions.
- Budget: Factor in price and evaluate what features are most important for your needs.
How do you install pocket door hardware correctly?
- Install the track according to the manufacturer’s instructions.
- Attach the door brackets, rollers, and guides.
- Hang the door on the track and adjust for proper alignment.
- Double-check that all hardware is securely fastened and properly functioning.
What is the estimated cost range for a professional pocket door installation?
The cost of a professional pocket door installation typically ranges from $800 to $1500, including materials and labor. This price can vary depending on factors such as materials, door size, complexity, and regional labor rates.
At what stage in the construction process should a pocket door frame be installed?
A pocket door frame should be installed during the framing stage of construction before drywall, electrical, and plumbing work has been completed. This allows for accurate measurements, proper space allotment, and minimal disruption to other aspects of the project.