You can usually cover a typical full kitchen remodel with a 20-yard dumpster; smaller updates may fit a 10–15 yard, and large kitchens or projects with structural demo often require a 30-yard or larger. A 20-yard dumpster strikes the best balance for most cabinet removals, countertop and flooring demo, and appliance disposal.
This post walks you through how to assess your waste by volume and weight, compares common dumpster sizes and dumpster rental prices, and highlights permits, timing, and recycling tips so you pick the right option without paying for empty space. Keep reading to match your specific scope—cabinet swaps, appliance removal, or full gut— to the dumpster that fits your budget and timeline.
Assessing Your Kitchen Remodel Waste Needs
Identify the specific materials, approximate volumes, and job variables that determine dumpster size: bulky appliances, cabinetry, tile or concrete, and whether you’re removing framing or walls. Matching those items to a dumpster capacity prevents overfills and extra fees.
Types of Materials Generated
List the common debris so you can plan for weight and space. Examples: cabinets and counter tops (bulky, occupy volume), drywall and plaster (light but voluminous), tile and concrete (dense and heavy), flooring (plywood, hardwood, vinyl), and appliances (refrigerator, stove, dishwasher). Hazardous items like fluorescent bulbs, batteries, and certain adhesives cannot go in a standard roll-off; check local rules. To avoid surprise fees, review what can and cannot go inside a dumpster rental before scheduling delivery.
Separate materials if possible—placing heavy masonry or concrete in a different container can avoid weight limits. Note that appliances often require special handling or pickup; include them in your count but verify disposal options before renting.
Volume Estimation Techniques
Measure or estimate by component to avoid guesswork. Example method: count cabinets (standard base cabinet ≈ 8–10 cu ft once disassembled), estimate flooring area in sq ft and multiply by typical removal depth (1–2 inches for tile; deeper for subfloor), and add bulky items (each appliance ≈ 15–30 cu ft). Convert totals to dumpster sizes: 15-yard ≈ 15 cu yd, 20-yard ≈ 20 cu yd, 30-yard ≈ 30 cu yd.
Use photos and measurements to show the hauler what you’ll discard; many companies provide guidance from images. When unsure, choose the next larger size to avoid overfill fees. Keep separate tallies for heavy items to track potential weight surcharges.
Factors Impacting Debris Amount
Project scope changes volume dramatically. Simple cabinet and countertop swaps produce much less debris than a full gut with wall removal or subfloor replacement. Kitchen size matters: a small galley usually fits a 15–20 yard dumpster; large open-plan kitchens or multi-room projects often need 30 yards.
Contractor methods affect waste too. Demolition by hand yields more salvageable material, reducing volume, while demo with heavy equipment breaks materials into denser pieces. Local disposal rules, recycling requirements, and whether you’ll separate metal and wood also change what and how much you can load.
Common Dumpster Sizes for Kitchen Renovations
Choose a dumpster based on the volume of cabinets, countertops, drywall, and a few appliances. Consider space at your driveway, whether you’ll need permits, and if heavy items (like a refrigerator) will increase weight.
10-Yard Dumpster Overview
A 10-yard dumpster holds roughly 3–4 pickup truck loads and fits tight driveways or alleys. Use it for small kitchen projects where you remove countertops, a few cabinets, tile, and light demo debris.
Expect dimensions near 12′ long × 8′ wide × 3.5′ high, which lets you stack flat materials but won’t accept large appliances upright. It limits heavy materials; concrete, brick, or large cast-iron sinks may trigger weight overages.
Rent this size when you’re replacing cabinets and surfaces but not gutting to the studs. It keeps costs lower and reduces curb space, but plan multiple trips or a larger size if you add bulky appliances or extensive framing removal.
15-Yard Dumpster Overview
A 15-yard dumpster handles about 4–5 pickup loads and suits moderate remodels such as full cabinet removal, several appliances, and partial floor or wall demo. It measures roughly 14′ long × 8′ wide × 4′ high, providing more vertical capacity for stacked cabinetry and boxed materials.
This size tolerates heavier content better than a 10-yard, but verify weight limits if you’ll dispose of tile, masonry, or cast-iron fixtures. Use it when you replace most kitchen finishes and remove medium amounts of framing or subflooring.
Reserve extra capacity if you expect bulky waste or if contractors will produce continuous debris. It often balances cost and convenience for typical homeowner remodels.
20-Yard Dumpster Overview
A 20-yard dumpster fits about 6 pickup loads and works for large kitchen gut-outs or when you remove multiple appliances, cabinetry, and significant structural elements. Typical dimensions are around 22′ long × 8′ wide × 4.5′ high, giving room for appliances laid on their side and larger cabinetry stacks.
This size handles heavier loads more smoothly, but you still must watch total weight and local disposal restrictions on appliances and hazardous materials. Choose a 20-yard when contractors demo to the studs, replace flooring across an open plan, or when you want a single rental to avoid changeovers. For most full kitchen renovations, a roll-off dumpster rental provides enough space for cabinets, countertops, drywall, and flooring debris in one haul.
Confirm driveway clearance and permit needs before delivery; the unit’s length can block access if placed incorrectly.
Selecting the Right Dumpster Size
You need a dumpster that matches the scale of demolition, the physical size of your kitchen, and the bulky items you’ll remove. Choosing correctly prevents extra fees, keeps the site safe, and minimizes the chance of ordering a second drop.
Project Scope and Dumpster Choice
Estimate total debris by counting what you’ll remove: cabinets, countertops, flooring, drywall, and packaging. Small remodels (cabinet refacing, minor layout changes) typically generate 4–8 cubic yards; moderate remodels (full tear-out of kitchen fixtures and some walls) produce 15–25 cubic yards; full gut and layout changes can reach 30–40+ cubic yards.
If you’re unsure, size up one level to avoid a second haul. Confirm local weight limits and prohibited materials (hazardous liquids, certain electronics) with the hauler before loading. You can review current dumpster rental prices and weight allowances before booking to avoid unexpected charges. Note driveway space and permit requirements for curbside placement.
Kitchen Size Considerations
Measure the kitchen footprint and note whether walls come down. A 10– to 12–foot-wide galley or small L-shaped kitchen often fits a 10–15 cubic yard (10–yard) dumpster. A typical 12×12 to 15×15 kitchen with full cabinet removal usually needs 20 cubic yards. If you’re renovating in the Dallas–Fort Worth area, local dumpster availability and delivery windows may affect size selection.
If you remove an island or structural walls, add 5–10 cubic yards for demolition rubble and removed framing. Tight driveways or street placement may force a smaller roll-off and more trips; factor in access when you select size to avoid blocked deliveries.
Types of Appliances and Fixtures Removed
Identify appliances you’ll discard: refrigerator, range, dishwasher, microwave, and garbage disposal. Refrigerators and freezers require special handling for refrigerants; coordinate pickup or certified hauling. Ranges and dishwashers are bulky but relatively low-weight; plan space rather than weight.
Sinks, faucets, and gas lines need safe disconnection. If you remove built-in appliances or heavy stone sinks, reserve additional cubic yards for awkward loads. Label items you want salvaged to prevent accidental disposal.
Disposal of Cabinets and Countertops
Cabinets vary by material and volume: stock particleboard cabinets compact well, while solid wood or framed cabinetry occupies more space. Measure cabinet runs in linear feet; a 12–15 linear-foot full cabinet removal often fits in a 10–20 cubic yard dumpster depending on construction.
Countertops add bulk and weight—laminate cuts into smaller pieces, but granite, quartz, and solid stone are heavy and may exceed truck weight limits. For stone countertops, ask the hauler about a separate oversized-item fee or schedule a dedicated stone removal service. Large renovation projects often benefit from a renovation dumpster rental to manage heavy materials efficiently. Stack and break down materials where safe to maximize space.
Cost Implications of Different Dumpster Sizes
You’ll weigh upfront rental rates, possible overage fees, and strategies to keep costs down. Choose a size that balances what you’ll discard (cabinets, drywall, tile) against weight limits and haul fees.
Rental Rates Comparison
Rental prices usually scale by cubic yard and by provider; expect national averages near $300–$700 for common kitchen-remodel sizes. A 10- to 15-yard dumpster typically sits at the lower end and fits most minor-to-medium kitchen guttings. Larger 20‑ to 30‑yard units cost more upfront but can lower per‑cubic‑yard price if you have lots of cabinetry, concrete sink surrounds, or demo debris.
Ask providers for a detailed quote or request a dumpster rental estimate online to compare weight allowances and rental periods. Compare quotes that include weight allowance; two contractors can quote the same size but different included tonnage. Verify whether permits, driveway protection, or same‑day delivery have extra charges.
Potential Overage Charges
Most rentals include a weight allowance—commonly 1–2 tons for smaller dumpsters and higher for larger units. Exceeding that allowance triggers per‑ton overage fees, often $50–$100+ per additional ton. Heavy items like concrete, tile, and cast‑iron sinks accelerate weight limits fast.
You may also face overfill charges if debris exceeds the container height or protrudes above the rim; companies charge a flat overfill fee or refuse pickup until you remove excess. Hazardous materials (paint, solvents, asbestos) cause rejection or substantial disposal surcharges. Document banned items in writing to avoid surprise costs.
Maximizing Value for Your Budget
Estimate volume by measuring demolished materials or using common-item approximations: a set of cabinets ~1–2 cubic yards each; a full kitchen demo often fits a 15‑ to 20‑yard dumpster. Call two or three local providers and request line‑item quotes (rental, tip fee, weight allowance, overage rate).
Reduce weight by breaking up bulky concrete and removing metal fixtures for recycling. Schedule delivery to coincide with demo day to avoid extra rental days. Consider sharing a larger dumpster with a neighbor or contractor if you’ll fill it quickly—this can lower per‑cubic‑yard cost and reduce tipping fees.
Local Regulations and Permit Requirements

Check local rules before ordering so you avoid fines and delays. Focus on permit needs, where you can place the dumpster, weight and size limits, and any neighborhood-specific restrictions.
Residential Area Guidelines
You must confirm whether your city or town requires a dumpster permit for residential properties. Many municipalities require permits when the dumpster sits on public property (curb, street, alley); rules vary by jurisdiction and can carry fees from about $0 to $200. Review Texas dumpster permit guidelines before placing a container on the street. Contact your city public works or parking department at least a week before delivery to apply.
Homeowner association (HOA) rules may also apply. Review your HOA covenants for restrictions on dumpster appearance, duration on property, and placement on driveways versus the street. Prepare to provide start/end dates and proof of rental when requested.
Placement Restrictions
Most cities restrict dumpsters on public right-of-way without a permit. If you plan to place the dumpster on the street, expect requirements like reflective cones, a permit number posted on the unit, and limits on hours of placement. Failure to comply can trigger towing or fines.
If you place the dumpster on private property, protect surfaces: use boards or mats under the dumpster to prevent driveway damage and check the rental contract for weight limits. Measure the delivery area for clearance from power lines, garage doors, trees, and neighbors’ driveways to ensure safe placement and legal compliance.
Tips for Efficient Dumpster Use During Remodels

Plan placement, loading order, and prohibited materials before debris accumulates to save time and avoid extra fees. Use space smartly, keep hazardous items out, and communicate pickup timing with your contractor or hauler.
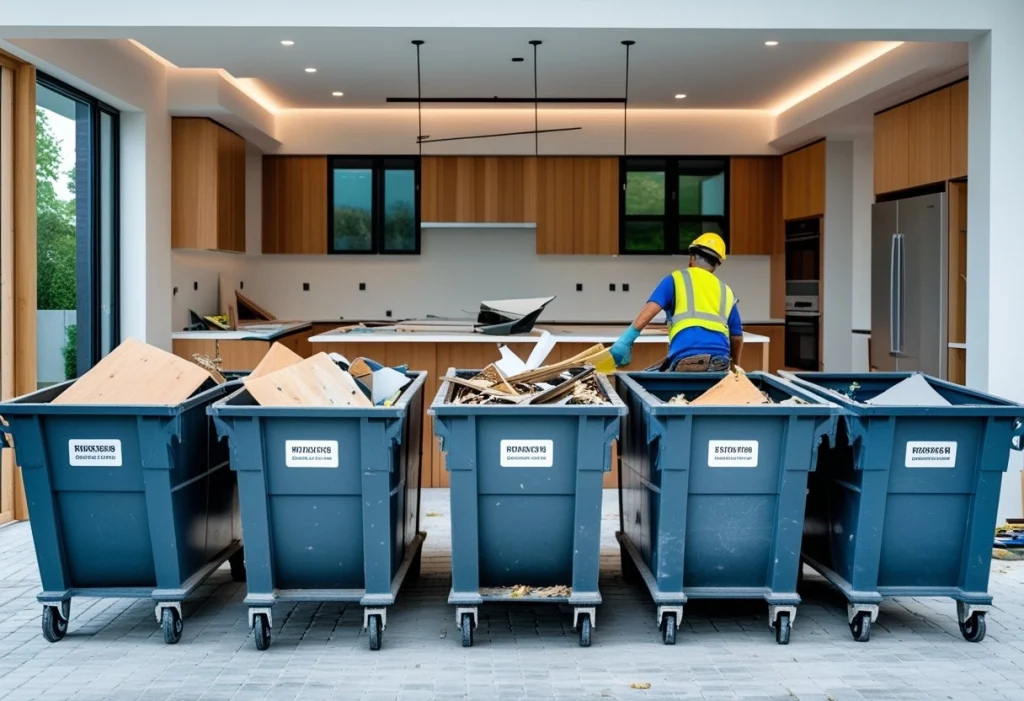
Loading Strategies
Start by breaking down large items like cabinets, countertops, and appliances into smaller pieces to lay flat and reduce voids. Place heavy, dense materials such as tile, concrete, and stacked cabinetry at the bottom and toward the dumpster’s center to stabilize the load and prevent shifting.
Use a layered approach: flat sheets (drywall, plywood) first, then bulky but lighter items (insulation, trim), and finish with loose debris in bags. Stand doors and long boards on edge along the side to save floor space. Don’t overfill past the top rim; most haulers charge extra or refuse pick-up if material extends above the container. Cover loose debris with a tarp when required to avoid wind-blown material and citation risks.
Prohibited Items
Never place liquids, paints with free liquid, gasoline, oil, solvents, batteries, or pesticides in the dumpster—these are hazardous and often illegal to dispose of in roll-offs. Appliances with refrigerant (fridges, freezers) must be evacuated by a certified technician before disposal; otherwise, the hauler will reject them or bill you for refrigerant removal.
Asbestos-containing materials, pressurized tanks (fire extinguishers, propane cylinders), and medical waste are also banned. If you’re unsure about a specific item, take a photo and ask your rental company before loading. Keeping a short checklist on-site of banned items prevents surprises and additional charges.
Environmental Considerations When Disposing Kitchen Materials
You will face recyclable streams and hazardous items that require special handling. Prioritize diverting metals, wood, and appliances from the dumpster and isolating paints, batteries, and refrigerants for proper disposal.
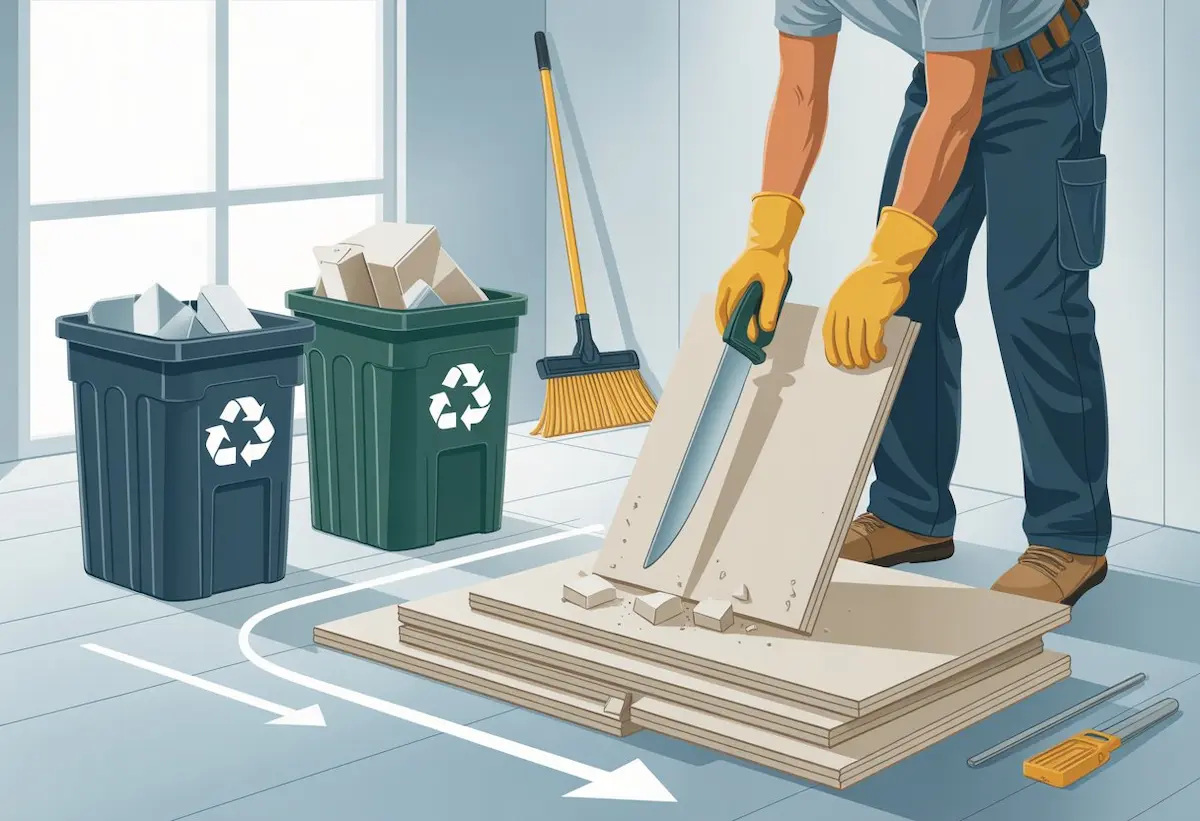
Recycling Opportunities
Sort materials on-site to maximize recycling and reduce dumpster weight. Metal cabinet frames, sink fixtures, and appliances are widely accepted at scrap yards; remove doors and hardware if you plan to recycle cabinet wood separately. Many municipalities and private recyclers take mixed wood (untreated) and clean drywall; keep painted, laminated, or heavily contaminated pieces out of the wood/drywall recycling pile.
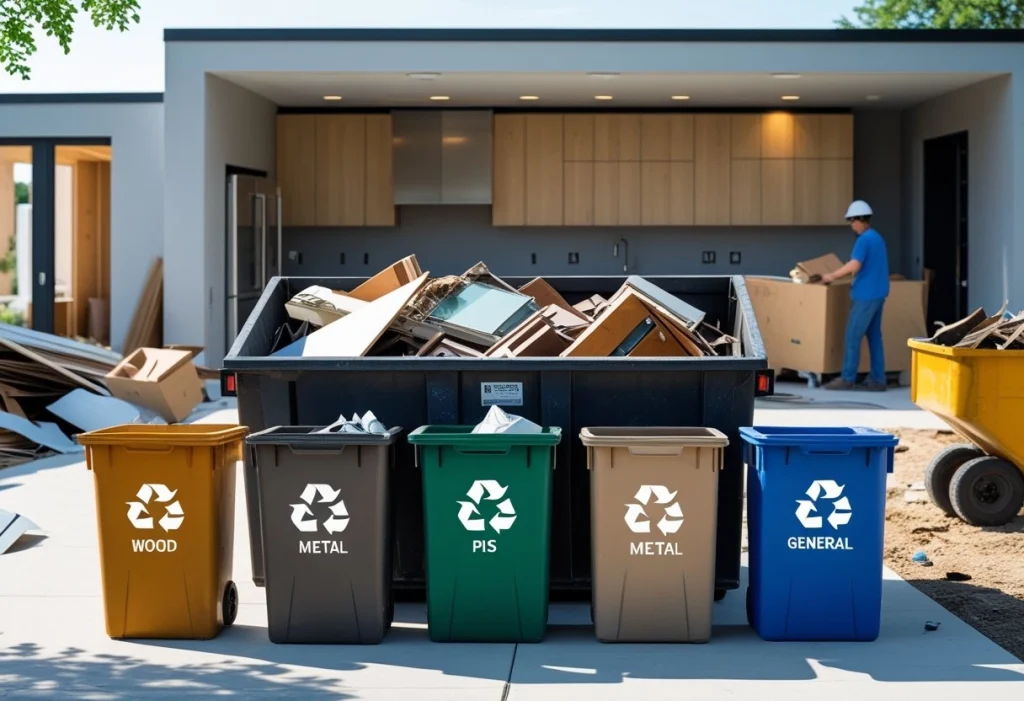
Label separate piles for:
- Metals (stoves, refrigerators, sinks)
- Clean wood and cabinetry components
- Drywall and tile (clean, non-contaminated)
Contact local recycling centers before delivery to confirm size limits and any drop-off fees. For large stone countertops, check for stone-specific recyclers or donation programs—stone is heavy and can exceed dumpster weight limits, so you may need a dedicated haul.
Hazardous Material Disposal
Identify hazardous items before demolition to avoid fines and contamination. Common kitchen hazards include oil-based paints, aerosol cans, oven cleaners, fluorescent lamps, batteries, and freon from older refrigerators or freezers.
Follow these steps:
- Separate hazardous items into clearly labeled containers.
- Use certified HVAC technicians to recover and recycle refrigerants; never puncture sealed systems.
- Take paints, solvents, and aerosols to household hazardous waste (HHW) facilities—many require appointment-based drop-off.
Check local regulations for HHW collection schedules and acceptable packaging. Failure to segregate hazardous materials can lead to disposal rejection, extra charges, and environmental harm, so document receipts from recycling or HHW facilities for your project records.
Planning a Kitchen Remodel in Texas?
- View available roll-off dumpster sizes
- Compare dumpster rental prices
- Explore renovation dumpster rental options
- Get a custom dumpster quote
Coordinating Delivery and Pickup Timing
Schedule delivery for the day your demo begins or the day before to avoid work stoppages. Confirm an exact window with the rental company and ask about traffic or site access issues that could shift arrival times.
Plan pickup around project milestones rather than a fixed number of days. For example, schedule a mid-project pickup after demo and drywall removal, and a final pickup after cabinet and fixture disposal.
Communicate pickup constraints clearly: site access, locked gates, driveways, and vehicle restrictions all affect timing. Provide a contact who can approve early or late pickups to prevent missed collections and extra charges.
Use a simple timeline to keep everyone aligned:
- Delivery: day 0 (demo start)
- Mid pickup: after heavy debris removal
- Final pickup: post-install and cleanup
Confirm weight limits and overage policies before scheduling pickup to avoid surprise fees. If you expect bulky items or tile/stone waste, arrange for a larger dumpster or an extra pickup ahead of time.
Document all agreements in writing: pickup/delivery windows, fees, and contingency plans for delays. That reduces disputes and keeps your remodel on schedule.