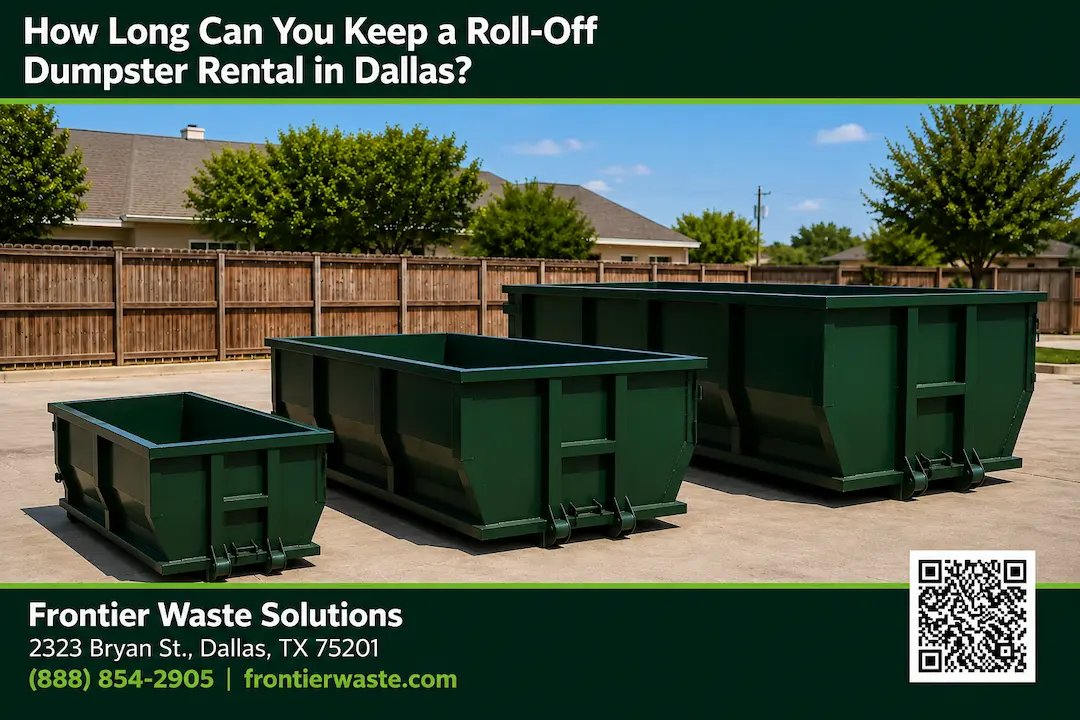
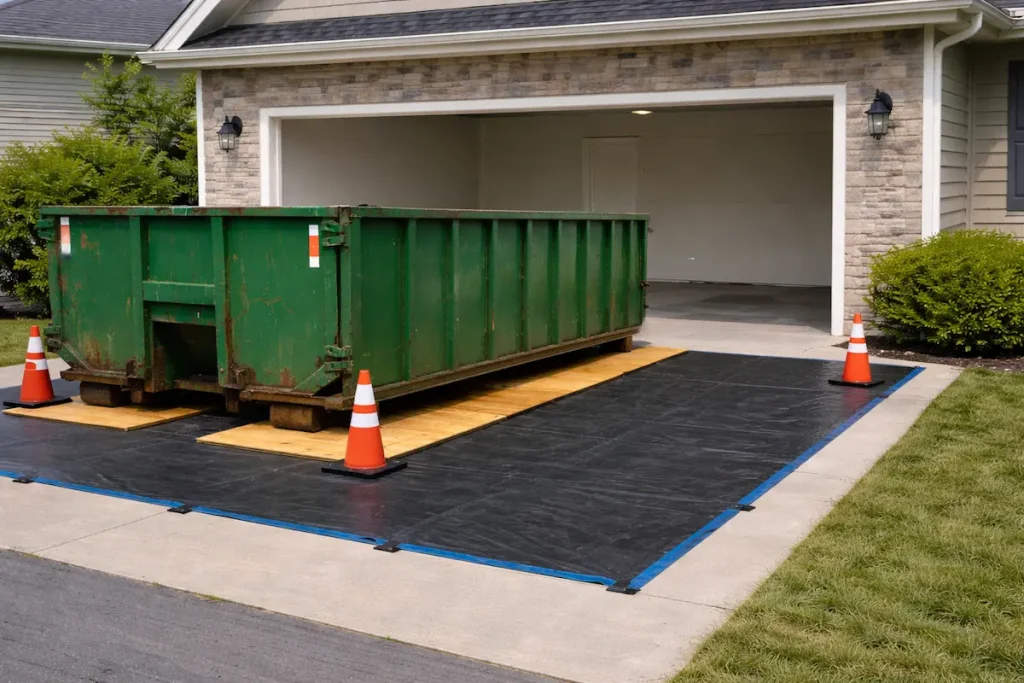
Renting a dumpster can solve many cleanup problems, but it can also create a new one: damage to your driveway. Heavy containers filled with debris can crack concrete, leave permanent marks on asphalt, or create deep ruts in gravel surfaces. Placing plywood boards or specialized protective mats under the dumpster before delivery prevents costly driveway repairs and protects your property investment.
Most homeowners don’t think about driveway protection until they see the damage. A 20-yard dumpster can weigh over 10,000 pounds when full, which is enough force to break through most residential driveway surfaces. The good news is that preventing this damage takes just a few simple steps and minimal cost compared to resurfacing a driveway.
This guide covers everything needed to keep driveways safe during a dumpster rental. From choosing the right protective materials to proper placement techniques, these strategies work for any cleanup project. Whether tackling a garage cleanout or a major renovation, protecting the driveway should be part of the planning process.
The Garage As Wasted Space
Many homeowners treat their garages like storage units instead of parking spaces. Boxes pile up against walls. Old furniture crowds the corners. Before long, cars sit outside while junk fills the garage.
This habit creates problems during home projects. When a dumpster arrives for a cleanout or renovation, the driveway becomes the only placement option. The garage holds all the items that need disposal, but it’s too cluttered to use as a staging area.
Common items taking up garage space:
- Holiday decorations from years past
- Broken appliances waiting for repairs
- Sports equipment no one uses anymore
- Building materials from finished projects
- Children’s toys they’ve outgrown
The typical two-car garage measures about 400 square feet. That’s valuable real estate going to waste. Most families could reclaim this space with proper disposal methods.
A dumpster rental solves the storage problem directly. It sits on the driveway while homeowners clear out the garage systematically. Items go straight from the garage into the bin without creating additional mess inside the home.
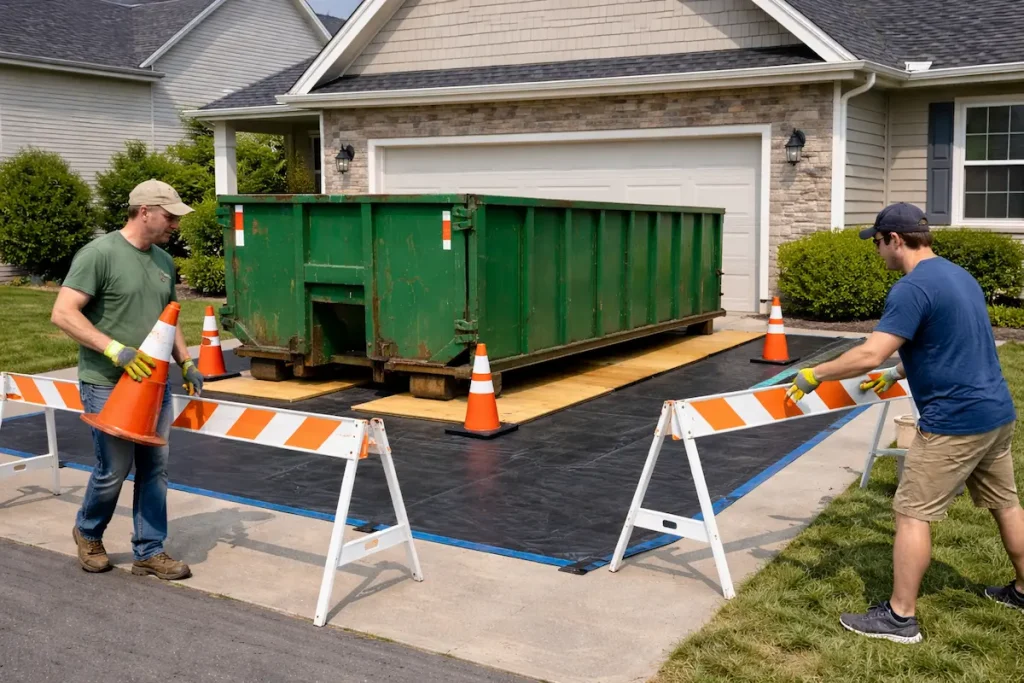
The process works best with protective measures in place. Plywood boards or rubber mats under the dumpster prevent driveway damage during the cleanout. These materials distribute the weight evenly across the surface.
Once the garage empties, homeowners gain functional space again. Cars return to their proper spots. The driveway stays clear. The whole property looks more organized and welcoming.
Set A Clear Goal For Your Garage Transformation
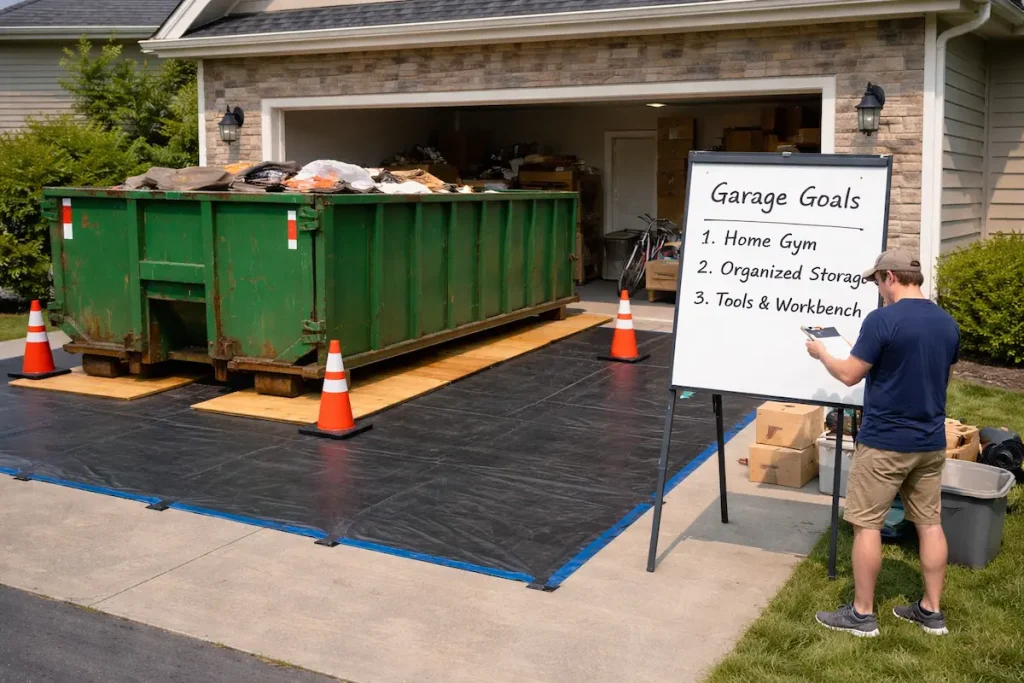
Before renting a dumpster for a garage cleanout, homeowners need to define what they want to achieve. A vague plan leads to incomplete projects and wasted effort.
Start by deciding the garage’s primary purpose. Will it be a workshop, storage space, parking area, or multi-use zone? This decision drives every other choice in the transformation process.
Common Garage Goals:
- Create room for vehicle parking
- Build a home gym or workout area
- Design a workshop for hobbies
- Organize seasonal storage
- Set up a home office space
Next, assess what needs to go. Many garages hold decades of accumulated items that no longer serve a purpose. Broken tools, outdated electronics, and forgotten boxes take up valuable square footage.
Setting a specific timeline helps maintain momentum. A weekend warrior approach works for some families, while others prefer tackling the project over several weeks. The key is committing to a realistic schedule.
Measure the available space to understand limitations. A single-car garage offers about 200 square feet, while a two-car garage provides roughly 400 square feet. These numbers help determine what fits and what must be discarded.
Consider involving family members in the goal-setting process. Everyone who uses the garage should have input on its future function. This prevents conflicts and ensures the space serves household needs effectively.
Write down the final goal and post it where it stays visible throughout the project. This simple step keeps the transformation on track when decision fatigue sets in.
Block The Time & Prep Like A Pro
Call the waste management company at least a week before the dumpster arrives. This gives time to handle any permit requirements and ensures the container shows up when needed.
Clear the driveway before delivery day. Move cars, toys, basketball hoops, and anything else that might be in the way. The delivery driver needs a straight shot to place the dumpster safely.
Pre-Delivery Checklist:
- Remove vehicles from the driveway
- Clear away outdoor furniture and decorations
- Trim low-hanging branches
- Mark sprinkler heads or underground utilities
- Take photos of the driveway condition
Measure the driveway space to confirm the dumpster will fit. A 10-yard container needs about 14 feet of length, while a 40-yard unit requires 22 feet. Width matters too, especially if the driveway has tight turns or narrow sections.
Check with the homeowners association or local municipality about permits. Some neighborhoods have rules about where dumpsters can sit or how long they can stay. Getting approval beforehand prevents headaches later.
What To Have Ready:
| Item | Purpose |
|---|---|
| Plywood sheets | Protects asphalt and concrete |
| Permit documents | Shows legal approval |
| Clear path | Allows safe delivery |
| Contact information | Enables quick communication |
Tell neighbors about the delivery if the dumpster will be near their property. This courtesy prevents complaints and keeps relationships friendly. Mark the exact spot where the container should go with chalk or cones.
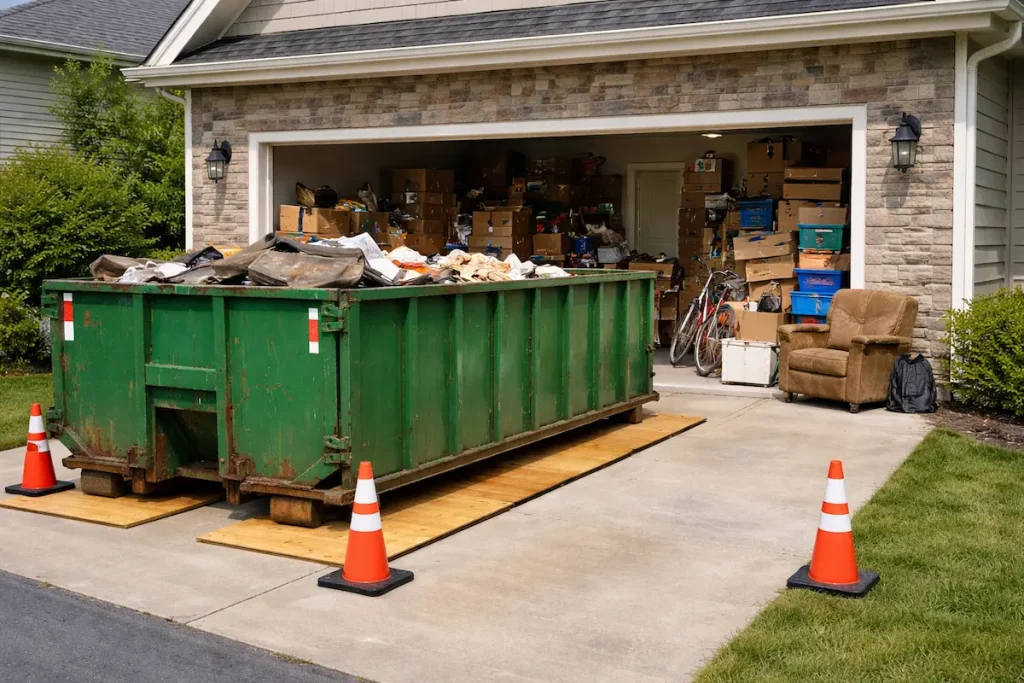
Empty The Entire Garage First
Before placing a dumpster on the driveway, homeowners should clear out their garage completely. This step might seem unnecessary, but it protects the driveway from damage while making the project more efficient.
A full garage forces the dumpster to sit on the driveway for weeks or even months. The longer a heavy container stays in one spot, the greater the risk of cracks, stains, and indentations forming in the concrete or asphalt. Moving items from the garage into the dumpster first shortens the rental period significantly.
Benefits of clearing the garage first:
- Reduces driveway exposure to heavy equipment
- Decreases total rental duration
- Lowers overall project costs
- Prevents permanent surface damage
Most garages can accommodate sorting stations for recyclables, donations, and trash. This organization makes loading the dumpster faster once it arrives. Homeowners can tackle the garage cleanout over several days without time pressure.
The driveway only needs to support the dumpster’s weight during the final loading phase. Instead of three weeks under a heavy container, the surface might only bear that load for three days. This approach works particularly well in Texas heat, where prolonged pressure on hot asphalt creates deeper impressions.
Property owners who empty their garages first often discover they need a smaller dumpster than originally planned. They’ve already hauled away a significant portion of their unwanted items. A lighter, smaller container puts less stress on driveway materials and costs less to rent.
Create Sorting Zones That Actually Work
Setting up clear sorting zones before the dumpster arrives saves time and prevents mistakes. A good system keeps different materials separate from the start.
Pick three to four spots in the driveway or yard for different waste types. Most people need zones for regular trash, recyclables, and items that need special handling like electronics or hazardous materials. Mark each area with spray paint, traffic cones, or simple signs.
Basic Zone Setup:
- General Waste – Non-recyclable items, damaged goods, general debris
- Recyclables – Cardboard, clean plastics, metals, glass
- Special Items – Paint cans, batteries, electronics, chemicals
- Salvage – Items to donate or sell
Place the zones in order from the garage or house to the dumpster. This creates a natural flow as people carry items out. The dumpster should sit closest to the general waste zone since that pile usually grows fastest.
Keep paths between zones at least three feet wide. Workers need room to move without stepping on sorted materials.
Use tarps or cardboard underneath each zone to protect the driveway surface. This also makes cleanup easier when the project ends. Wet weather can mix materials together, so cover zones with plastic sheeting if rain threatens.
Label everything clearly with waterproof markers or printed signs in plastic sleeves. Family members and helpers should know exactly where each item belongs without asking questions every five minutes.
The goal is to sort once and load once. Reorganizing materials wastes time and increases the chance of damage to the driveway from extra foot traffic and movement.
Clean The Space From Top To Bottom
Before a dumpster arrives, the placement area needs proper cleaning. Dirt, debris, and loose materials can damage both the driveway and the protective barriers underneath the rental unit.
Start by sweeping away all loose gravel, rocks, and sand from the designated spot. These small particles can grind into protective boards or plywood when the dumpster’s weight presses down. They also create uneven surfaces that might cause the container to sit at an angle.
Remove any oil stains, chemical spills, or sticky substances from the concrete or asphalt. These materials can:
- Reduce the effectiveness of protective boards
- Create slippery conditions during placement
- Stick to protective materials and cause damage when removed
- Weaken the driveway surface over time
Pressure washing the area provides the best results for thorough cleaning. It removes embedded dirt that regular sweeping misses. The surface should dry completely before placing any protective materials or the dumpster itself.
Check for existing cracks or damage in the pavement during the cleaning process. Small cracks can expand under a loaded dumpster’s weight. Filling these beforehand prevents costly repairs later.
Clear the surrounding area of lawn furniture, toys, bikes, and garden decorations. A clean workspace makes dumpster delivery safer and faster. It also prevents accidental damage to personal items during the drop-off process.
Finally, inspect the cleaned area for any sharp objects or protruding nails that might puncture protective boards. A smooth, clean surface extends the life of protective materials and keeps the driveway in good condition throughout the rental period.
Build A Storage System That Lasts
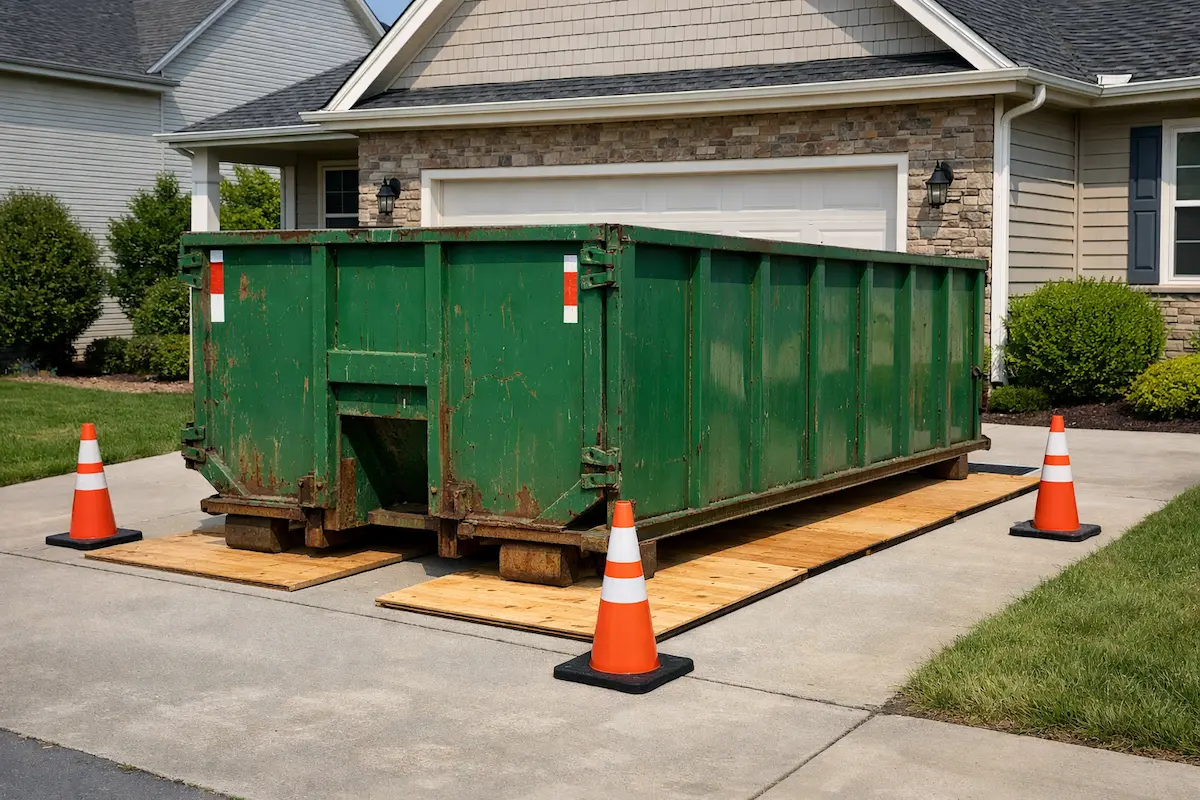
A well-built storage system keeps dumpsters stable and prevents damage to driveways. The foundation matters most when setting up a rental container.
Start with a solid base layer. Place plywood sheets at least 3/4 inch thick under the entire dumpster footprint. This spreads the weight across a larger surface area.
Key materials for driveway protection:
- Plywood boards – minimum 3/4 inch thickness
- 2×4 lumber strips – for extra support on weak surfaces
- Rubber mats – add cushioning between wood and pavement
- Gravel beds – alternative for unpaved areas
Stack materials in the right order for maximum protection. Rubber goes directly on the driveway surface. Wood planks sit on top of the rubber. The dumpster rests on the wood.
Check the stability before loading any waste. Walk around the setup and push gently on the protective layers. Everything should feel secure without shifting or sliding.
Replace worn materials immediately. Cracked plywood or compressed rubber won’t protect the surface underneath. Fresh materials maintain their protective qualities throughout the rental period.
Keep the system dry whenever possible. Water weakens wood and makes surfaces slippery. Cover materials during rain or move them to a sheltered spot if the rental extends beyond a week.
The best protection systems use multiple layers. Single-layer setups might work for light loads, but heavy debris requires reinforced support. Three layers provide adequate protection for most residential projects.
Move Items Back With Purpose
After the dumpster gets hauled away, homeowners face a driveway that needs organizing. The area that once held the rental becomes a blank slate. But rushing to fill it creates more problems than solutions.
Strategic Placement Matters
Property owners should consider these factors before moving items back:
- Weight distribution across the concrete or asphalt
- Frequency of use for each item
- Weatherproofing needs for outdoor storage
- Vehicle access and turning radius
Items that sat in the garage for years don’t need prime driveway real estate. Heavy equipment like riding mowers or generators should rest on the strongest parts of the surface. The dumpster may have revealed cracks or weak spots that need attention first.
Create Functional Zones
A well-organized driveway serves multiple purposes. Daily-use items belong near the garage entrance. Seasonal equipment can sit further back or along the sides. This reduces unnecessary movement and protects the surface from constant repositioning.
Smart homeowners group similar items together. Gardening tools pair with potting soil and planters. Sports equipment stays with outdoor toys and bikes. This system prevents the scattered look that makes driveways feel cluttered.
The post-rental period offers a chance to rethink storage habits. Some items might work better inside the garage or in a shed. Others might need disposal during the next rental period. Taking time to plan prevents damage from overloading specific areas and maintains the protection work done before the dumpster arrived.
Maintain The Clean-Out Long-Term
After the dumpster leaves, protecting that driveway becomes an ongoing task. Regular maintenance prevents damage from becoming permanent and keeps surfaces looking their best for years to come.
Property owners should inspect driveways monthly for cracks, stains, or surface wear. Early detection makes repairs simpler and less expensive. Small cracks can be filled before they expand into major problems.
Key maintenance tasks include:
- Sweeping debris weekly to prevent buildup
- Pressure washing stains within 48 hours of appearance
- Sealing concrete or asphalt every 2-3 years
- Filling minor cracks immediately when spotted
Temperature changes cause driveways to expand and contract. This natural process can worsen existing damage if left unchecked. A simple sealant application protects against moisture infiltration during freeze-thaw cycles.
Oil stains from vehicles or equipment need immediate attention. Absorbent materials like cat litter soak up fresh spills effectively. Degreasing cleaners work on older stains but require scrubbing.
Residents should avoid parking heavy vehicles in the same spot repeatedly. Rotating parking positions distributes weight more evenly across the surface. This simple habit extends driveway life significantly.
Professional inspections every few years catch problems homeowners might miss. Experts identify structural concerns before they require complete resurfacing. Many concrete and asphalt contractors offer free assessments.
Proper drainage keeps water from pooling on driveways. Standing water accelerates deterioration and creates safety hazards. Cleaning gutters and installing proper grading directs water away from paved surfaces.
When To Call In Garage Clean Out Services
Some homeowners tackle garage cleanouts alone. Others need professional help to get the job done right.
Consider calling garage clean out services when the space has become so cluttered that walking through it feels impossible. Years of accumulated items, broken equipment, and forgotten storage boxes often create more work than one person can handle in a weekend.
Professional services make sense in these situations:
- The garage contains heavy items like old appliances, furniture, or exercise equipment
- Hazardous materials need proper disposal (paint cans, batteries, chemicals)
- Time constraints prevent dedicating multiple days to the project
- Physical limitations make lifting and hauling difficult
- The sheer volume of junk requires a large dumpster rental
Most people underestimate how much stuff fills their garage. What looks like a simple afternoon project often turns into days of sorting, lifting, and multiple trips to disposal facilities.
Professional cleanout teams bring the right equipment, including dumpsters and protective materials for driveways. They sort recyclables from trash and handle disposal according to local regulations. This saves homeowners from figuring out where different materials belong.
Garage cleanouts often happen during moves, estate sales, or spring cleaning projects. Calling professionals early in the planning process prevents delays and ensures the project stays on schedule.
The cost of professional services typically includes labor, dumpster rental, and disposal fees. Homeowners receive a clear space without the physical strain or time commitment of doing it themselves.
Next Steps
Contact Frontier Waste Solutions to discuss driveway protection options before the dumpster arrives. The team can recommend the best materials based on the specific surface type and condition.
Gather these materials before delivery day:
- Plywood boards (at least ¾ inch thick)
- Rubber mats or commercial driveway protectors
- Wooden blocks or 2x4s for weight distribution
- Tarp or plastic sheeting for extra protection
Measure the delivery area to determine how much protective material is needed. Most dumpsters require a minimum coverage area of 8 feet by 20 feet.
Schedule the dumpster delivery for a day when someone can be present. This allows the customer to ensure proper placement of protection materials and verify the dumpster sits correctly on the covered area.
Take photos of the driveway before the dumpster arrives. Documentation helps track any changes and provides evidence of the surface’s original condition.
Ask the driver to place the dumpster slowly and carefully. Frontier Waste Solutions drivers are trained in proper placement techniques, but communication helps ensure everyone stays on the same page.
Check the protected area periodically during the rental period. If any materials shift or show signs of failure, adjust them immediately to prevent damage.
Remove protection materials only after the dumpster has been picked up. Inspect the driveway for any issues and contact Frontier Waste Solutions within 24 hours if concerns arise.
Frequently Asked Questions
Homeowners often have questions about protecting their driveways when renting a dumpster. The weight of roll-off dumpsters and their steel wheels can cause cracks, scratches, and other damage to asphalt and concrete surfaces.
How can I prevent a dumpster from damaging my driveway?
Placing protective materials between the dumpster wheels and the driveway surface prevents most damage. Plywood boards work well for this purpose.
A stack of at least two plywood sheets, each about 3/4 inch thick, should go under each contact point. This setup helps distribute weight across a larger area instead of concentrating it in small spots where the steel wheels touch down.
Homeowners should clear the area before dumpster delivery to ensure proper placement. Removing debris, vehicles, and other obstacles makes it easier to position protective boards correctly.
What are some effective materials to place under a dumpster to protect my driveway surface?
Plywood sheets are the most common and affordable option for driveway protection. They spread out the weight of roll-off dumpsters effectively.
Commercial driveway pads made from rubber or plastic offer another solution. These pads are specifically designed to handle heavy loads and protect various driveway materials.
Some contractors use 2×12 lumber boards as an alternative. However, plywood boards typically provide better weight distribution because of their wider surface area.
Is it necessary to take driveway protection measures when renting a dumpster?
Protection is necessary for most driveways, especially asphalt surfaces. An asphalt driveway is particularly vulnerable to damage from the concentrated weight of dumpster wheels.
Even a concrete driveway can crack or scratch without proper protection. The risk increases significantly when the dumpster gets filled with heavy materials like concrete, brick, or dirt.
Skipping protection measures can lead to costly repairs that far exceed the price of simple preventive materials. Most dumpster damage to driveways happens within the first few days of placement.
What steps should be taken before placing a dumpster on a residential driveway?
Clear the area completely before the dumpster delivery arrives. This includes moving cars, bikes, toys, and any other items from the placement zone.
Inspect the driveway for existing cracks or weak spots. Avoiding these areas during dumpster placement prevents making existing damage worse.
Lay down protective boards or driveway pads before the roll-off dumpster arrives. The dumpster rental company typically cannot reposition the container once it’s been placed, so preparation matters.
Mark the exact spot where the dumpster should go. This helps delivery drivers place it correctly on the first try.
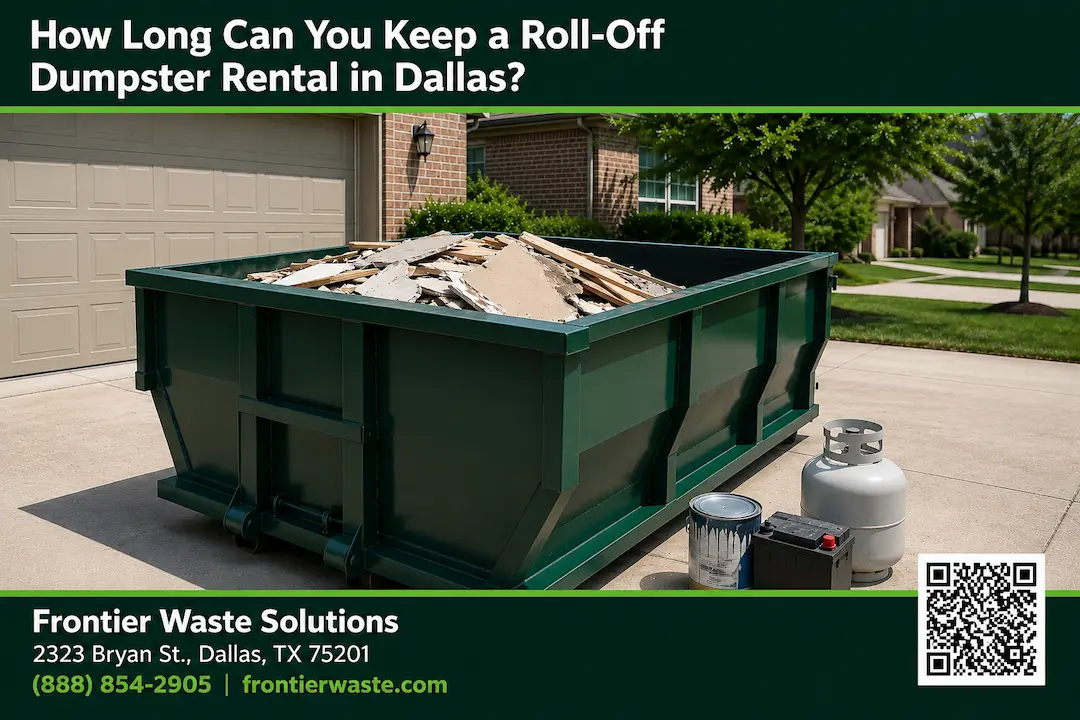
How does the weight of the dumpster contents impact driveway protection needs?
A 20-yard dumpster filled with heavy debris creates much more pressure on a driveway than the same container holding lighter materials. Heavy loads require extra protection layers.
The type of waste matters significantly. Roofing shingles, concrete chunks, and soil weigh considerably more than household junk or yard waste.
Homeowners planning to dispose of dense materials should use additional plywood sheets or commercial-grade driveway pads. Standard protection methods designed for light debris won’t suffice for heavy loads.
Weight distribution becomes more critical as the dumpster fills up. The pressure on the driveway increases gradually throughout a project.
Can the dumpster rental company provide driveway protection, or is that the responsibility of the homeowner?
Most dumpster rental companies consider driveway protection the homeowner’s responsibility. They typically don’t include protective materials as part of the standard rental agreement.
Some companies offer driveway protection as an add-on service for an extra fee. Customers should ask about this option when booking their rental.
The rental company focuses on safe dumpster delivery and pickup. They’ll position the roll-off dumpster where requested, but protecting the surface underneath falls to the property owner.
A few rental services provide basic protective boards at no charge. However, homeowners should verify this before assuming protection is included in their rental package.