Drywall waste piles up fast during renovations and repairs. Tossing it in the regular trash seems easy, but most garbage services won’t accept it due to weight limits and landfill restrictions. Proper drywall disposal requires either renting a dumpster, hauling it to a construction waste facility, or breaking it into smaller pieces for curbside pickup if local regulations allow.
The good news is that getting rid of drywall doesn’t have to be complicated. Several practical options exist depending on the project size and local waste management rules. Some methods save money while others save time and effort.
This guide walks through each disposal method step by step. It covers everything from sorting and preparing drywall scraps to choosing between DIY hauling and professional services. The right approach depends on how much waste needs removal and how quickly the space needs to be cleared.
The Garage As Wasted Space
Many homeowners don’t realize their garage has become a dumping ground for materials they can’t use anymore. Old drywall pieces often pile up in corners alongside broken furniture, paint cans, and boxes of forgotten items.
A two-car garage typically offers 400 to 600 square feet of storage space. When drywall scraps take up even a quarter of that area, families lose valuable room for vehicles, tools, or organized storage systems.
Common items competing with drywall for garage space:
- Seasonal decorations
- Lawn equipment
- Sports gear
- Recycling bins
- Workshop supplies
The problem gets worse after renovation projects. Homeowners might stack drywall against walls thinking they’ll dispose of it later. Weeks turn into months, and suddenly the garage becomes impossible to navigate.
Drywall also attracts moisture in garages without climate control. This creates a breeding ground for mold and weakens the material’s structure. The sheets become heavier and harder to move over time.
Space wasted by drywall storage:
| Amount of Drywall | Square Feet Lost | Equivalent To |
|---|---|---|
| 10 sheets (4×8) | 32 sq ft | Small storage shed |
| 25 sheets | 80 sq ft | Walk-in closet |
| 50 sheets | 160 sq ft | Small bedroom |
Professional disposal services can clear out unwanted drywall in a single appointment. This frees up the garage for its intended purpose and eliminates safety hazards from leaning materials. Property values increase when garages appear clean and functional rather than cluttered with construction debris.
Set A Clear Goal For Your Garage Transformation
Before tearing out old drywall, homeowners need to decide what they want their garage to become. A clear vision makes the entire renovation process smoother and helps determine how much material needs removal.
Some people want a basic storage space with fresh walls. Others plan to create a workshop, home gym, or climate-controlled area for hobbies. The end goal affects everything from insulation choices to waste disposal needs.
Common garage transformation goals include:
- Climate-controlled storage area
- Home workshop or craft room
- Additional living space or guest room
- Organized tool and equipment storage
- Vehicle maintenance bay
Writing down specific measurements helps too. Knowing the square footage of drywall being removed makes it easier to estimate disposal costs and dumpster sizes. Most residential garages range from 200 to 800 square feet of wall space.
Budget planning matters just as much as the design vision. Factor in costs for dumpster rental, new materials, and labor if hiring contractors. Drywall disposal typically costs between $100 and $400 depending on the amount.
Timeline expectations should be realistic. A basic garage drywall removal usually takes one to three days for an average two-car garage. More complex renovations with electrical or plumbing work extend the schedule significantly.
Taking photos of the current space helps track progress and serves as reference during the project. These images also prove useful when comparing disposal container sizes or explaining the scope of work to waste management services.
Block The Time & Prep Like A Pro
Getting rid of drywall takes more time than most people expect. A typical room tear-out needs 4-6 hours, while larger projects can stretch across multiple days.
Smart planning starts with picking the right day. Weekend mornings work best for residential projects since noise won’t bother neighbors during business hours. Commercial jobs require coordination with building schedules.
Essential prep steps include:
- Clear all furniture and wall decorations from the work area
- Cover floors with thick plastic sheeting or canvas drop cloths
- Seal doorways with plastic to contain dust
- Turn off electricity to the work zone
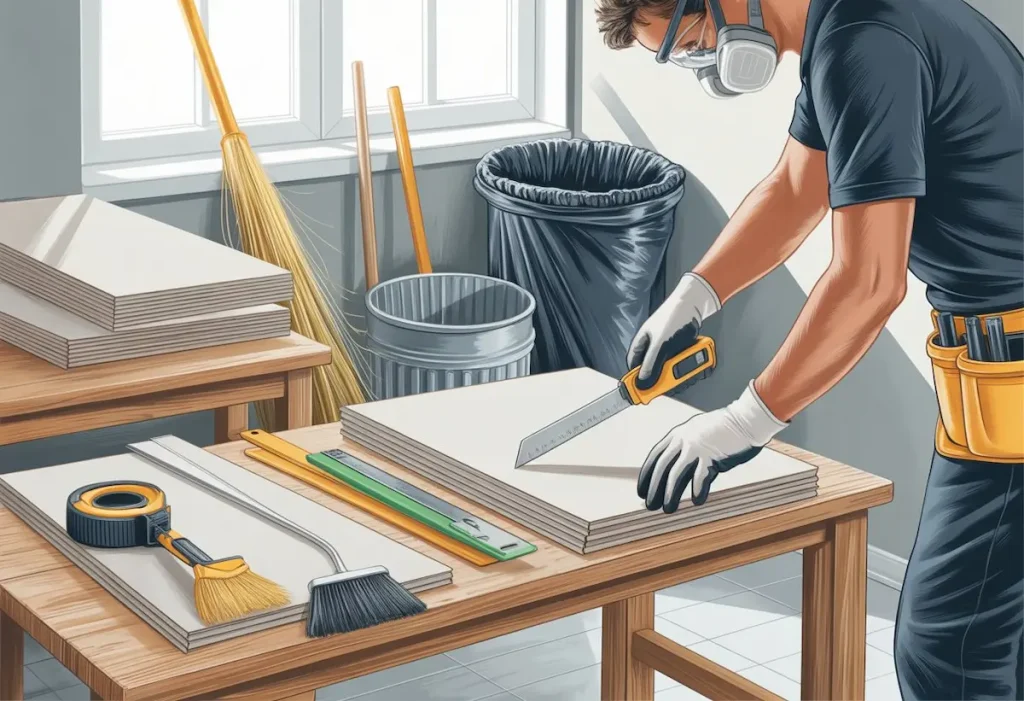
- Wear safety glasses, gloves, and a dust mask rated N95 or higher
Drywall creates massive amounts of dust that spreads fast. Taping plastic barriers around doors keeps the mess contained to one area. This step saves hours of cleanup later.
The disposal method affects prep work too. Renting a dumpster means placing it close to the exit point before starting demolition. Bagging the debris requires having enough heavy-duty contractor bags on hand. A 10×12 room generates roughly 15-20 bags of drywall waste.
Setting up a staging area near the dumpster or truck speeds up the process. Workers can toss debris quickly without tracking dust through the entire property. This simple trick cuts project time by 30-40%.
Weather matters for outdoor disposal prep. Rain turns drywall into a soggy mess that weighs twice as much and creates loading problems.
Empty The Entire Garage First
Before tackling drywall disposal, clearing out the garage completely makes the job safer and more efficient. Remove vehicles, tools, storage bins, and any other items that could get in the way. This creates a clean workspace where drywall pieces can be sorted and stacked without obstacles.
An empty garage prevents accidental damage to belongings. Drywall dust settles on everything, and sharp edges can scratch cars or tear through stored items. Moving everything out beforehand saves time on cleanup later.
Benefits of clearing the space:
- More room to maneuver large drywall sheets
- Better visibility of the work area
- Reduced risk of tripping hazards
- Protection for vehicles and personal property
The cleared space also makes it easier to set up a proper sorting system. Homeowners can designate one area for recyclable materials and another for trash-bound debris. This organization speeds up the loading process when the dumpster arrives.
Most garages accumulate years of stored items that rarely see use. This project offers a chance to declutter while preparing for drywall removal. Consider donating unwanted items or disposing of them separately from construction debris.
A completely empty garage allows for thorough sweeping and vacuuming after the drywall work finishes. The floor can be properly cleaned without moving items around multiple times. This single step of emptying the garage first transforms a chaotic demolition project into a manageable task.
Create Sorting Zones That Actually Work
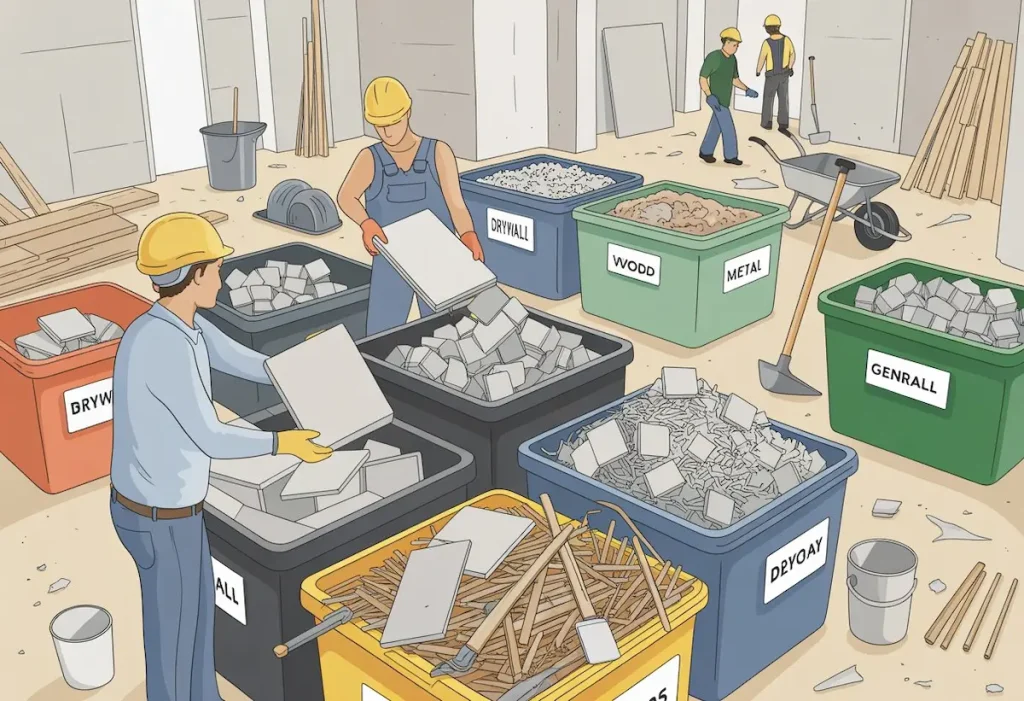
Setting up distinct areas for different materials makes drywall disposal faster and safer. Workers need space to separate clean drywall from damaged pieces, and keeping contaminated materials away from recyclable ones prevents cross-contamination.
Basic Zone Layout
Most projects need three separate zones:
- Clean drywall only – No nails, screws, or paint
- Mixed debris – Drywall with fasteners or minor contamination
- Hazardous materials – Moldy or water-damaged pieces
Each zone should have clear labels and enough room for a person to move around comfortably. A good rule is to allocate at least 10 square feet per sorting area.
Placement Tips
Put the clean drywall zone closest to the recycling dumpster or pickup point. This cuts down on carrying distance for the heaviest loads. The mixed debris zone works best in the middle, while hazardous materials should stay in a corner away from foot traffic.
Use tarps or plywood sheets to define boundaries on the ground. Bright-colored tape or cones help everyone see where one zone ends and another begins. These simple markers prevent mistakes when crew members are tired or rushing.
Container Choices
| Zone Type | Best Container |
|---|---|
| Clean drywall | Open-top dumpster or large bin |
| Mixed debris | Covered roll-off container |
| Hazardous materials | Sealed bags in separate area |
The right containers keep materials dry and prevent them from blowing around the site.
Clean The Space From Top To Bottom
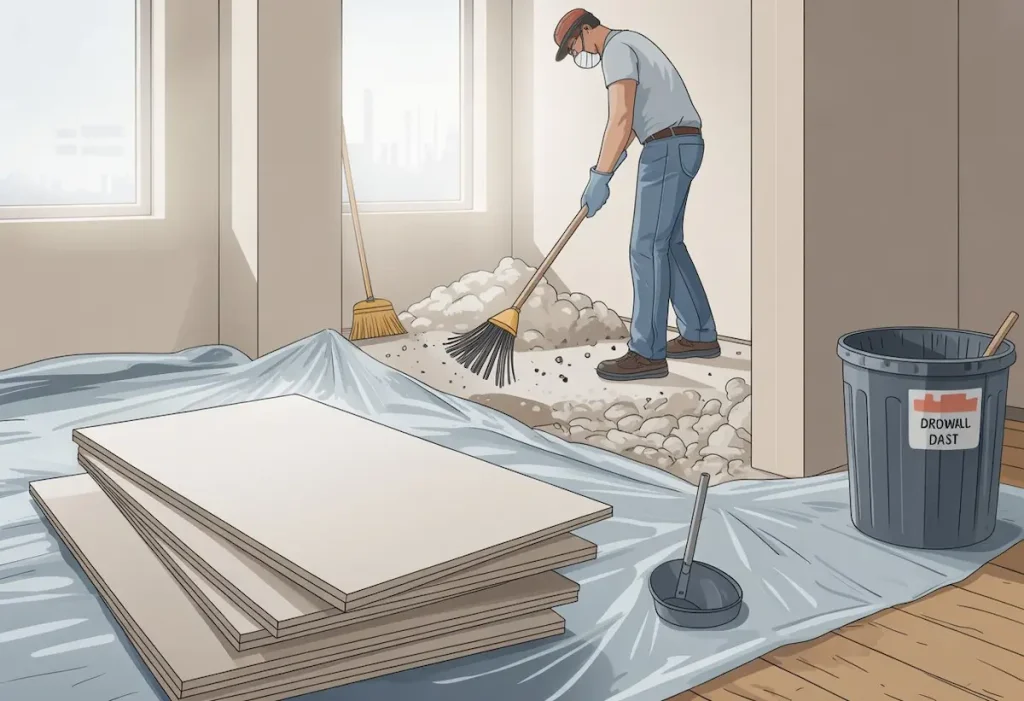
After removing all the drywall, dust and debris will cover every surface in the room. This fine powder settles on walls, floors, windows, and fixtures. It gets into corners and cracks that seem impossible to reach.
Start by wiping down the ceiling and upper walls with a damp cloth. Work from the highest points downward to prevent dust from falling onto already-cleaned areas. Don’t use a dry cloth because it just pushes the dust around and makes it airborne again.
Next, clean the windows, light fixtures, and electrical outlets. A slightly damp microfiber cloth works best for these surfaces. Pay attention to window sills and door frames where dust tends to accumulate.
Move on to the floors once everything else is clean. Sweep or vacuum the entire space first to remove the larger pieces. Then mop with warm water to pick up the fine particles that sweeping missed. You may need to change the mop water several times because drywall dust makes it cloudy fast.
Check air vents and returns before finishing up. Drywall dust can get sucked into HVAC systems and spread throughout the building. Replace air filters if they look dirty.
Some homeowners skip this cleaning step and regret it later. The dust will track through the house and damage flooring if left behind. A thorough cleaning now saves hours of work down the road.
Build A Storage System That Lasts
Leftover drywall pieces don’t have to clutter a garage or shed. A simple storage system keeps materials organized and ready for future repairs.
Wall-Mounted Racks
Vertical storage works best for drywall sheets. Mount sturdy brackets to wall studs, spacing them 16 inches apart. This setup supports full sheets without bending or warping.
Proper Positioning
Store drywall flat or standing on its long edge. Never lean sheets at an angle, as this causes permanent damage over time. Keep materials at least 4 inches off the ground to prevent moisture contact.
Climate Control Matters
Drywall absorbs moisture quickly, which ruins its strength. Pick a dry, covered area away from direct sunlight. Basements with humidity problems aren’t ideal storage spots.
Organization Tips
| Storage Method | Best For | Space Needed |
|---|---|---|
| Wall brackets | Full sheets | 8+ feet vertical |
| Horizontal shelves | Scrap pieces | 4 feet wide |
| Overhead racks | Long-term storage | Ceiling clearance |
Label each stack by size and type. This saves time when starting repair projects later.
Weight Distribution
Don’t stack more than six full sheets together. Excess weight crushes bottom pieces and makes them unusable. Place heavier cement board on bottom racks if storing multiple materials.
A dedicated storage area protects drywall investments and cuts down on waste disposal costs. Materials stay in good condition for months when stored correctly.
Move Items Back With Purpose
After clearing out a space for drywall removal, the room sits empty and ready to be refilled. This is the perfect time to rethink how the space should function.
Before moving furniture and belongings back in, homeowners should clean the area thoroughly. Drywall dust settles everywhere, even in spots that seem untouched. A quick wipe-down of surfaces prevents grime from spreading throughout the home.
Consider these steps when reorganizing:
- Assess which items actually belong in the room
- Donate or discard things that no longer serve a purpose
- Place frequently used items in easily accessible spots
- Store seasonal or rarely used belongings elsewhere
The empty room offers a chance to improve the layout. Items can be arranged to create better traffic flow or maximize natural light. This might mean positioning a desk near a window or angling a couch away from high-traffic areas.
Homeowners should also inspect furniture for damage before bringing it back. Drywall projects sometimes cause bumps and scratches during the moving process. Touching up minor issues now saves headaches later.
Key items to prioritize when moving back:
| Priority Level | Item Type | Reason |
|---|---|---|
| High | Essential furniture | Beds, seating, work surfaces |
| Medium | Storage units | Dressers, shelves, cabinets |
| Low | Decorative pieces | Artwork, plants, accessories |
The goal is creating a functional space that works better than before. A drywall project disrupts normal life, but it also provides an opportunity to start fresh with a cleaner, more organized room.
Maintain The Clean-Out Long-Term
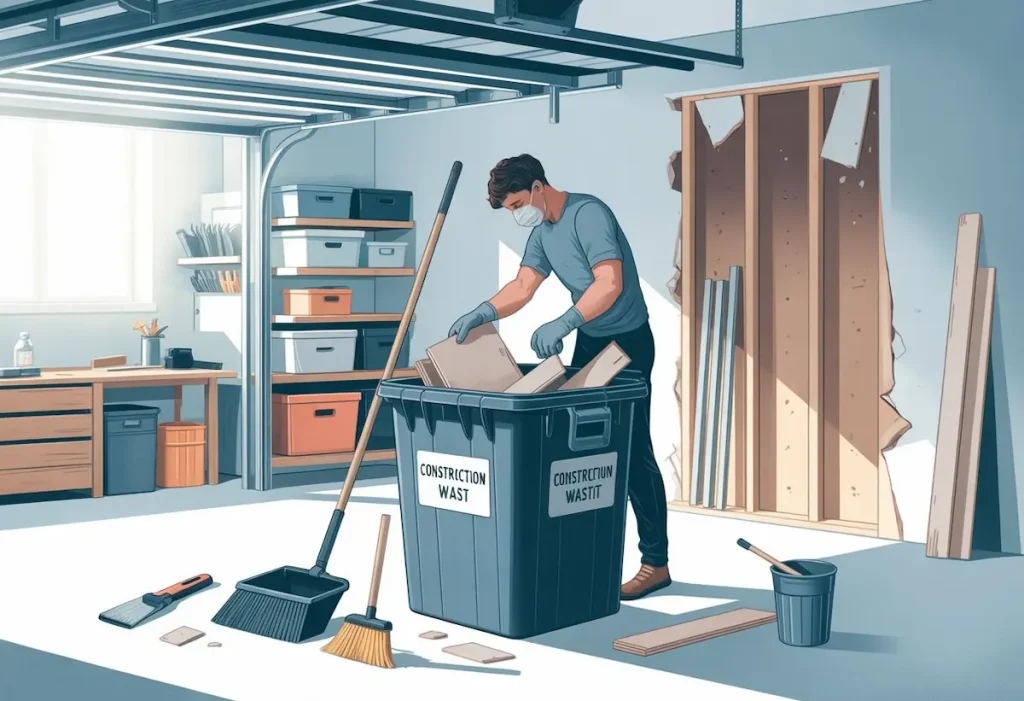
Keeping a workspace free of drywall debris requires ongoing attention. Workers should designate specific disposal areas during each phase of a project. This prevents scattered waste from piling up in random spots.
A good practice involves sweeping up dust and scraps at the end of each workday. Fresh debris is easier to manage than hardened piles that accumulate over time.
Daily Maintenance Tasks:
- Bag small scraps immediately after cutting
- Vacuum drywall dust before it spreads
- Check disposal containers for capacity
- Remove full bags to designated collection areas
Scheduling regular pickups prevents containers from overflowing. Most projects generate more waste than expected, so planning ahead saves headaches later.
Teams should establish clear protocols for sorting materials. Separating metal corner beads, screws, and joint compound containers from pure drywall makes recycling simpler. Clean gypsum often qualifies for different disposal methods than contaminated pieces.
Label containers clearly to help everyone dispose of materials correctly. Simple signs reduce confusion and keep sorting systems effective.
Contractors who maintain organized disposal systems throughout a project save money on cleanup costs. They also reduce safety risks from tripping hazards and airborne dust. A clean site reflects professionalism and makes inspection processes smoother.
Storage areas should remain accessible as work progresses. Blocked pathways to dumpsters or collection bins lead to improper disposal shortcuts that create bigger problems later.
When To Call In Garage Clean Out Services
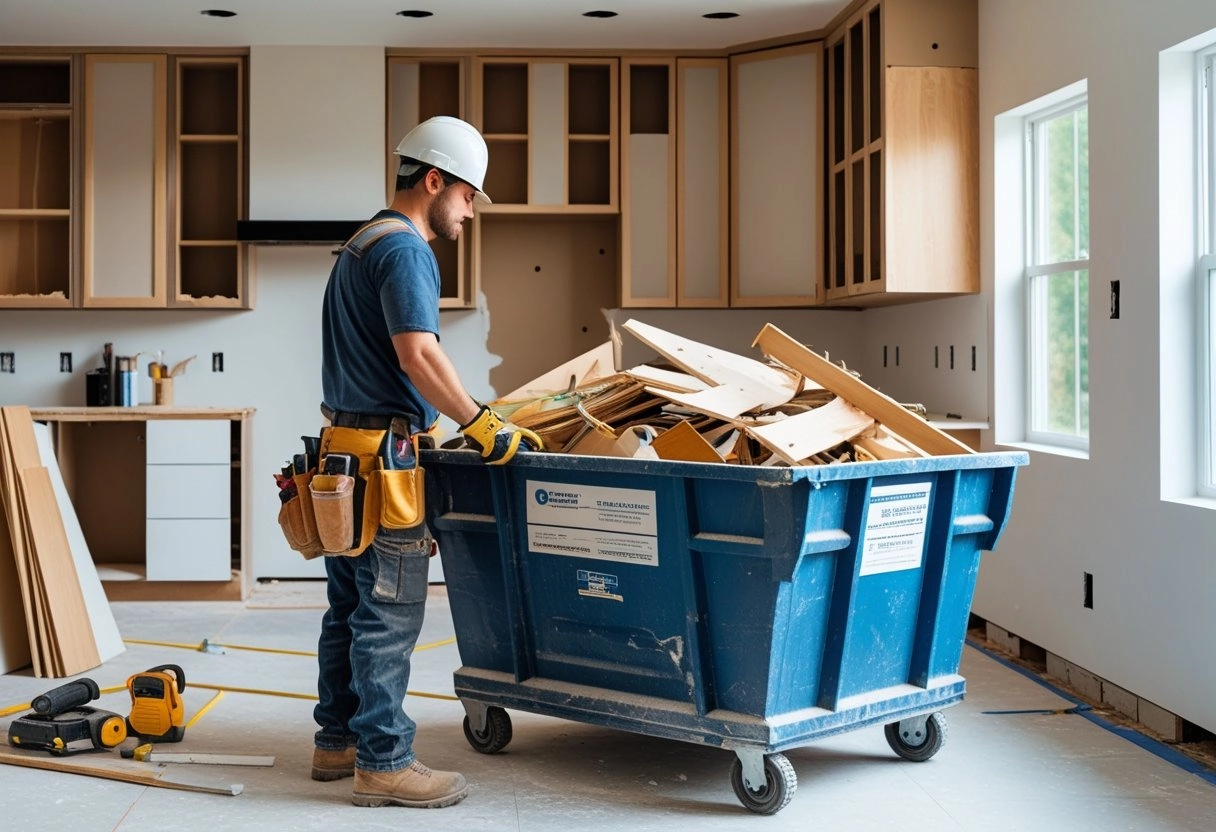
Some drywall projects create more waste than a homeowner can handle alone. A garage renovation or large repair job might leave dozens of sheets piled up with nowhere to go. Most municipal trash services won’t pick up construction debris, leaving property owners stuck with materials taking up valuable space.
A junk removal service becomes necessary when drywall waste exceeds what fits in a personal vehicle. These professionals have the trucks and equipment to haul heavy loads safely. They know which disposal facilities accept construction materials and handle all the transportation logistics.
Consider professional help if:
- The project generates more than 10 sheets of drywall
- Debris includes mixed materials like wood, insulation, or metal studs
- The waste needs removal within a specific timeframe
- Physical limitations prevent manual loading and hauling
- No suitable vehicle is available for transport
Garages often become dumping grounds during renovation projects. When drywall scraps mix with old furniture, boxes, and general clutter, the cleanup becomes overwhelming. Professional teams sort through everything efficiently and dispose of each material type properly.
Timing matters when dealing with construction waste. Drywall sitting in a garage for weeks collects moisture and becomes harder to move. A junk removal service can clear everything in one visit, usually within a few hours. They charge based on volume, so consolidating the waste beforehand saves money.
Some companies offer same-day or next-day service for urgent situations. This proves useful when garages need immediate clearing for new vehicles or storage needs.
Next Steps
Once drywall disposal is complete, property owners should inspect the work area for any remaining debris. Small dust particles and fragments often settle in corners or along baseboards. A thorough cleaning prevents tracking material throughout the building.
For ongoing projects, consider these actions:
- Schedule regular pickups if demolition or construction continues for several weeks
- Document disposal receipts for potential tax deductions or project records
- Plan ahead for the next phase of work that might generate additional waste
Homeowners and contractors should evaluate whether their current disposal method works for future needs. Projects that generate consistent waste streams benefit from establishing a relationship with a waste management provider. This approach saves time and reduces the hassle of arranging separate pickups.
Check local regulations before starting new projects. Some Texas municipalities update their waste disposal rules annually. What worked for the last project might require adjustments now.
Property managers dealing with multiple units or buildings should create a waste management schedule. This prevents dumpsters from overflowing and keeps job sites organized. Clear timelines help everyone involved know when materials need to be ready for pickup.
Keep contact information for disposal services easily accessible. Quick access to phone numbers and service details makes it simpler to arrange additional pickups or modify existing schedules. Most providers offer online portals or apps that streamline the booking process.
Frequently Asked Questions
Drywall disposal raises common questions about safety, recycling options, and local regulations. These answers cover everything from handling small amounts to managing construction site waste.
What is the proper method for disposing of unused drywall pieces?
Unused drywall pieces can go to several places depending on their condition and quantity. Clean, undamaged pieces work well for donation to community organizations or salvage stores.
Small amounts fit in standard trash bins in most areas. Larger quantities need a trip to a landfill that accepts construction and demolition debris or a specialized recycling facility.
Are there specific regulations for disposing of drywall that contains asbestos?
Asbestos-containing drywall requires special handling under federal and state laws. Materials manufactured before 1980 may contain asbestos and need professional testing before disposal.
Only licensed asbestos abatement contractors can remove and transport this material. Regular construction workers cannot legally handle asbestos-containing drywall.
Disposal must occur at approved hazardous waste facilities. Standard landfills and recycling centers will not accept it.
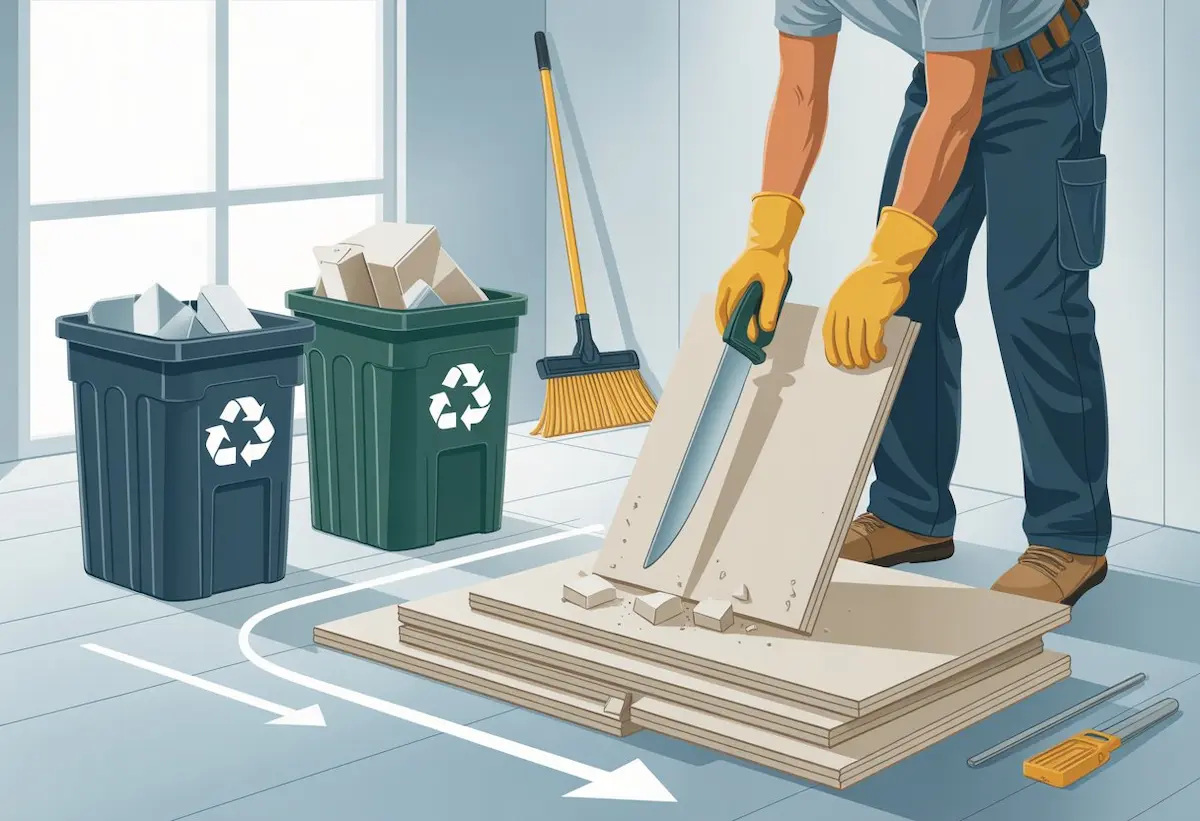
Can drywall be recycled, and if so, what steps should be taken to do this responsibly?
Drywall recycling programs exist throughout Texas and accept clean gypsum-based materials. The recycling process separates the paper backing from the gypsum core for reuse in new products.
Keep drywall waste separated from other construction debris at the job site. Remove nails, screws, and tape before taking it to a recycling facility.
Contact local recycling centers to confirm they accept drywall and learn their specific requirements. Some facilities only take crushed drywall while others accept whole sheets.
Is it permitted to throw small amounts of drywall in residential garbage bins?
Most residential garbage services allow small quantities of drywall in regular bins. Check local ordinances for specific weight limits and size restrictions.
Breaking leftover drywall into smaller pieces helps it fit better. A typical household project generates manageable amounts for curbside pickup.
Large renovation projects exceed residential bin capacity and require alternative disposal methods. Repeat violations of weight limits may result in service fees.
How should large quantities of drywall be disposed of from construction or renovation sites?
Construction sites need dumpster rental services designed for construction and demolition debris. A 20-yard or 30-yard dumpster handles most renovation projects efficiently.
Separate clean drywall from mixed waste when possible to reduce disposal costs. Many facilities charge less for pure gypsum loads than mixed construction debris.
Schedule regular pickups during long projects to prevent site overflow. This keeps work areas safe and maintains compliance with site regulations.
What precautions should be taken when transporting drywall to a disposal facility?
Secure all drywall pieces with straps or netting to prevent them from flying out during transport. Loose sheets create serious road hazards for other drivers.
Cover the load with a tarp to keep dust contained and protect materials from moisture. Wet drywall becomes heavier and harder to handle at disposal sites.
Wear gloves and a dust mask when loading old drywall into vehicles. The gypsum dust irritates skin and lungs with prolonged exposure.